
Quick Start
This quick start guide will help you understand how Rischio works in less than 60 seconds. You can follow the video or the step-by-step instructions.
Step by step
Section titled “Step by step”Go to the Rischio application and log in with your username and password. The system will take you to the Dashboard.
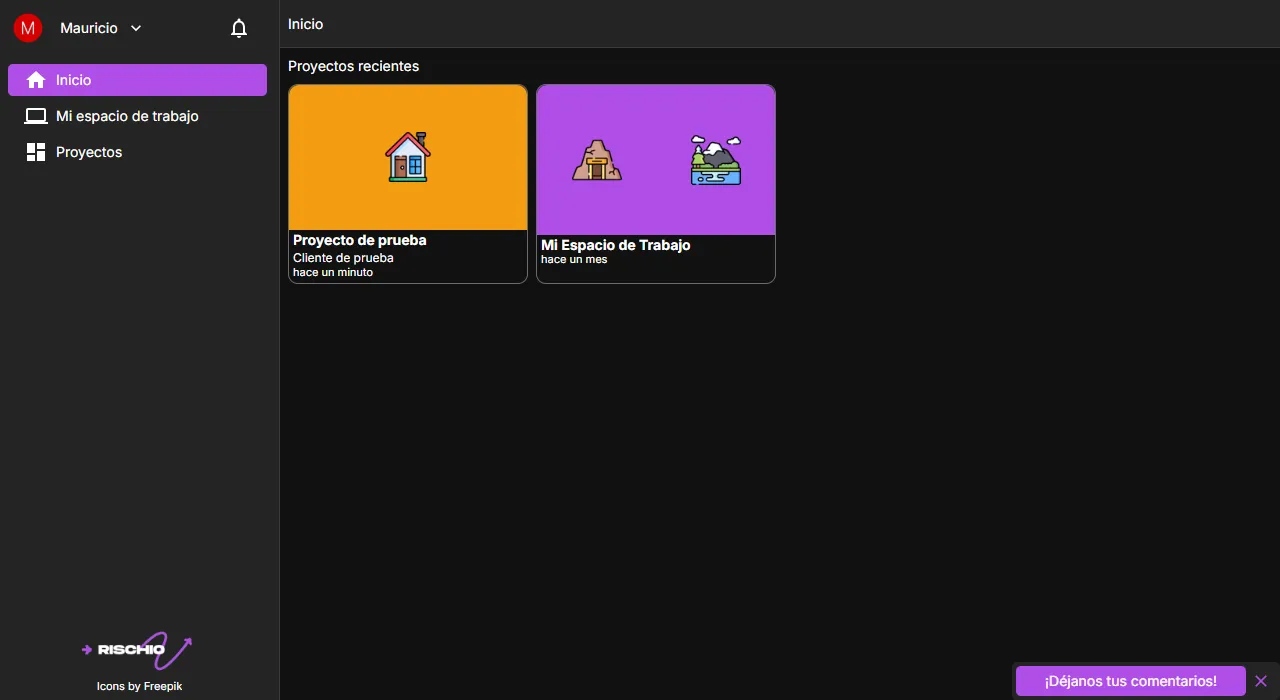
Access your workspace by clicking the My Workspace button in the side menu.
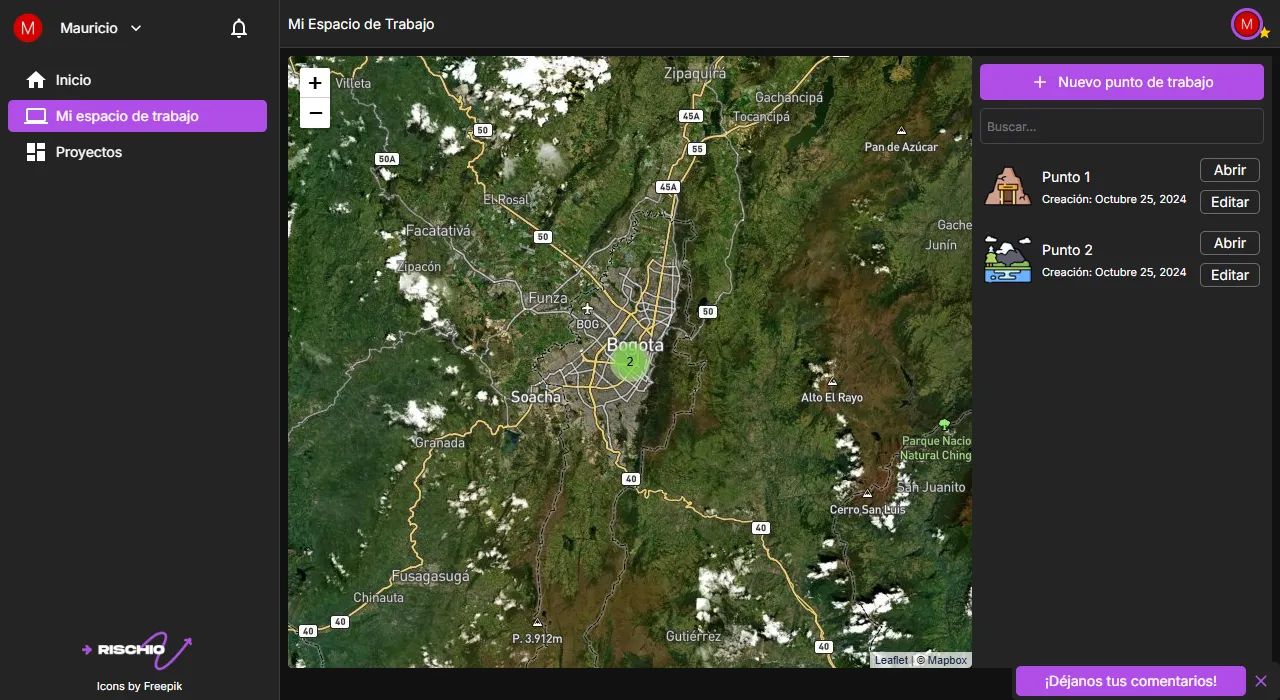
Create a new work location by clicking the New Work Location button. Enter the project details, including its geographical location (you can click on the map!) and a distinctive icon. Once you have filled in the information, click on Create work location.
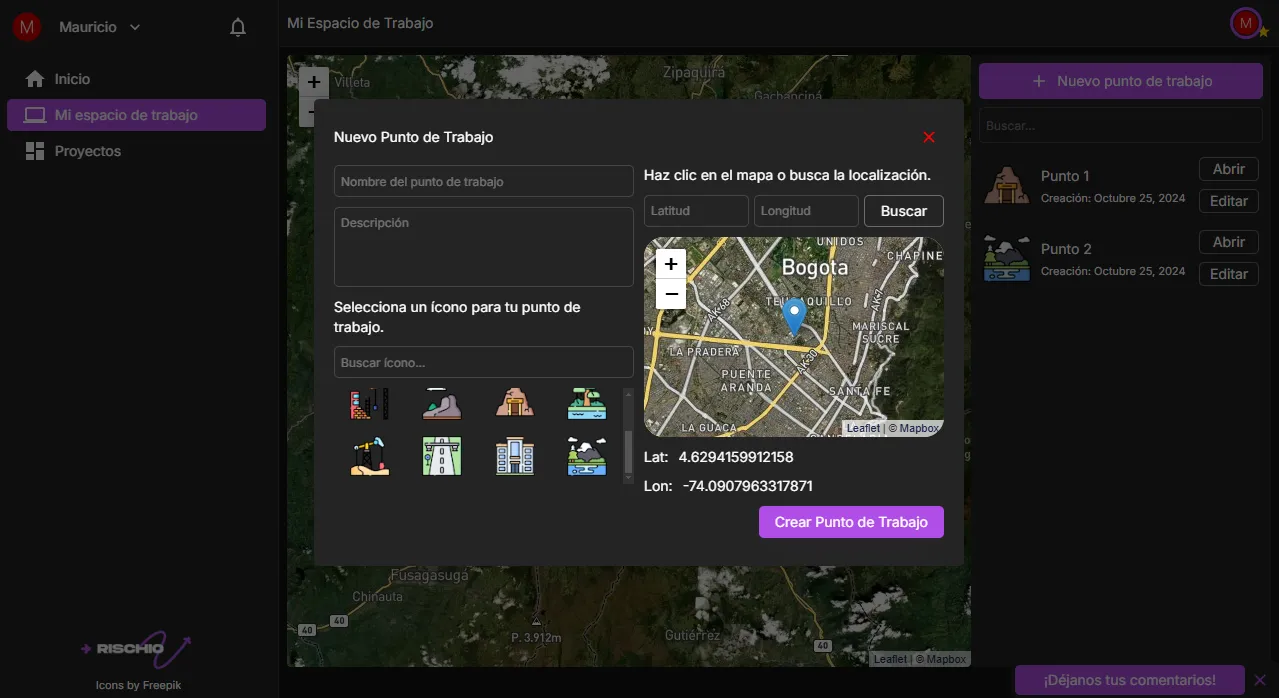
Once created, the work location will appear both on the map and in the list on the right. Find your work location in the list and click the Open button to access the application.
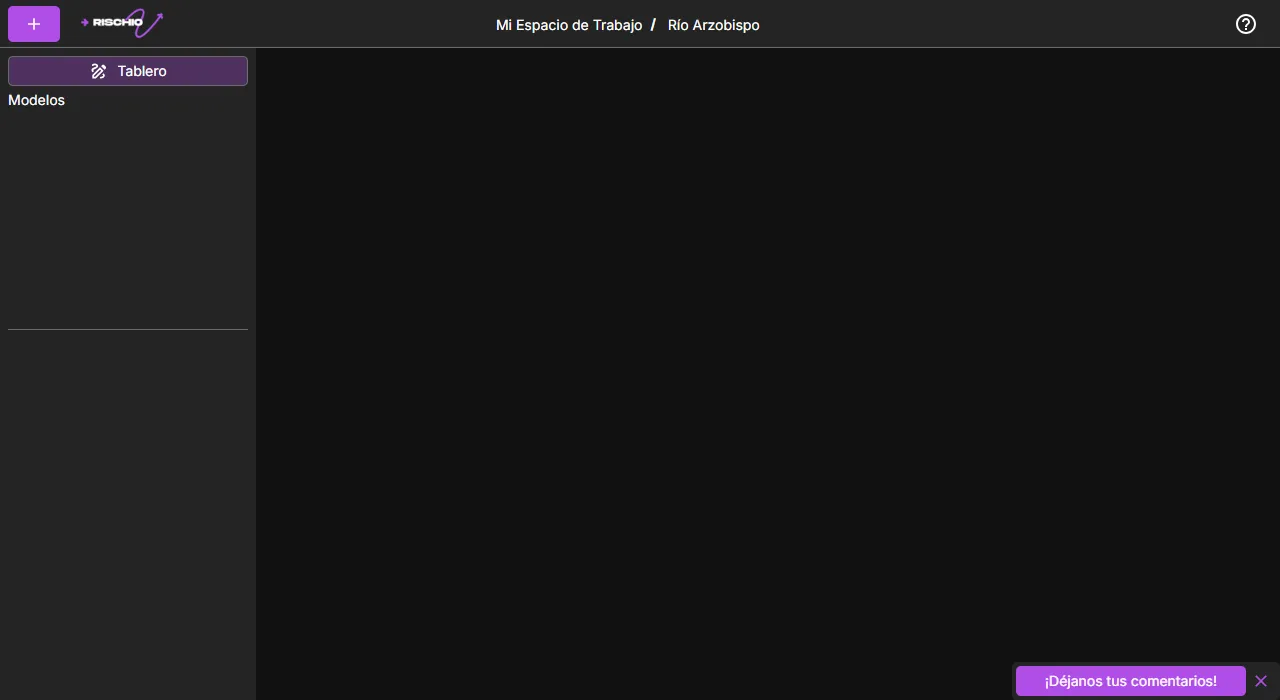
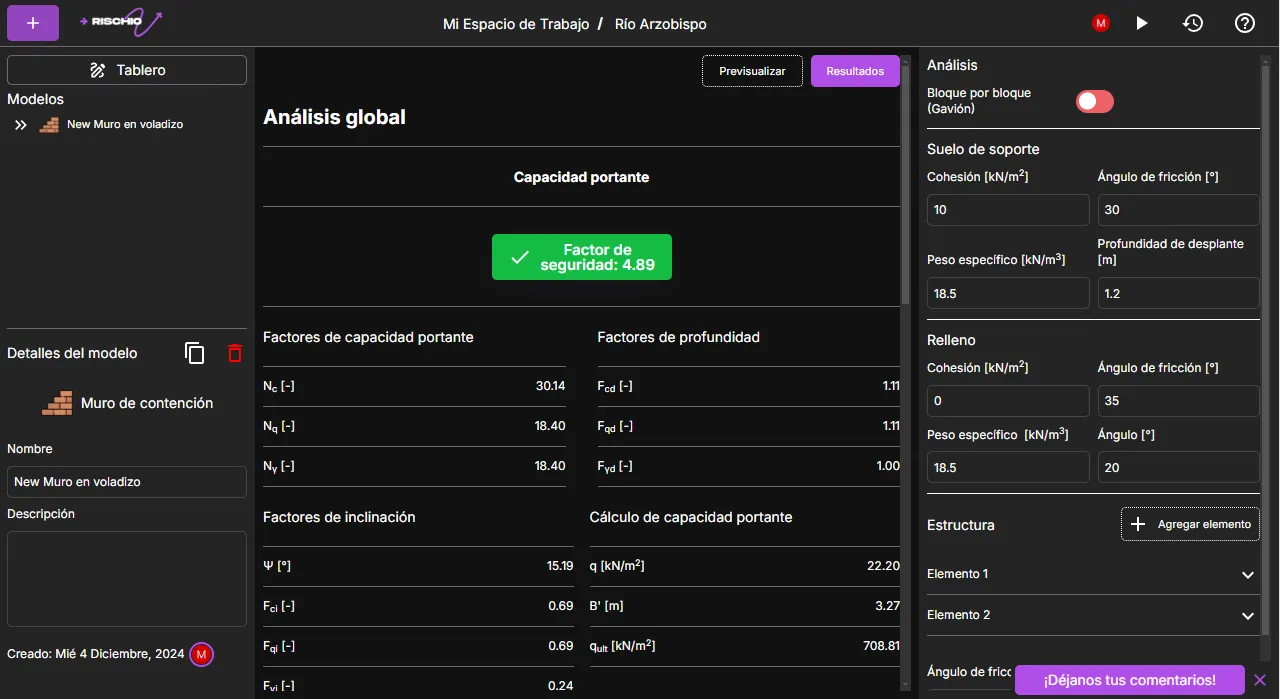
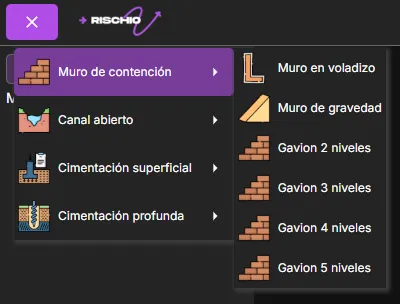
In the top left corner, click the button and select the tool and template that best suits your project. Give your model a name and click Create model.
In the left panel, you will see all the models created in this workspace. In the right panel, you will find the options to edit the selected model.
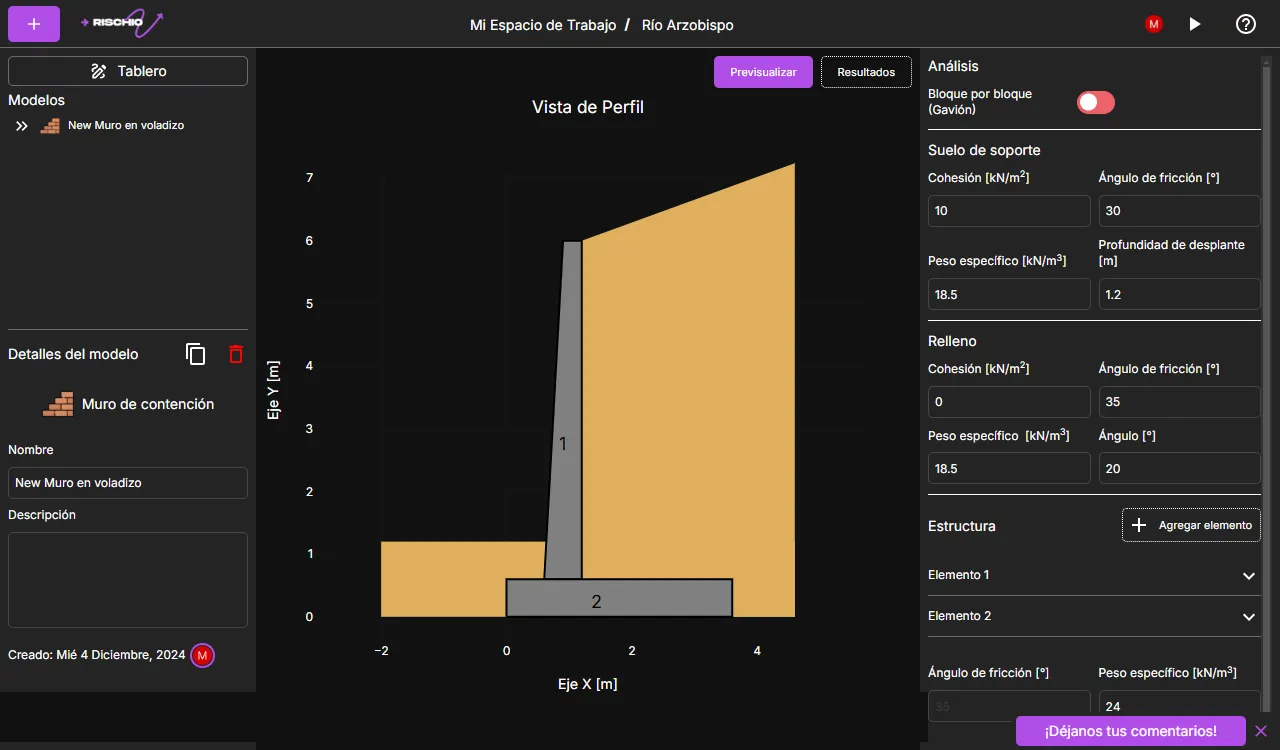
After editing the model, click the button in the upper right corner to run the model.
Analyze the results.