Projects
Projects allow you to organize work points separately and enable collaborative work.
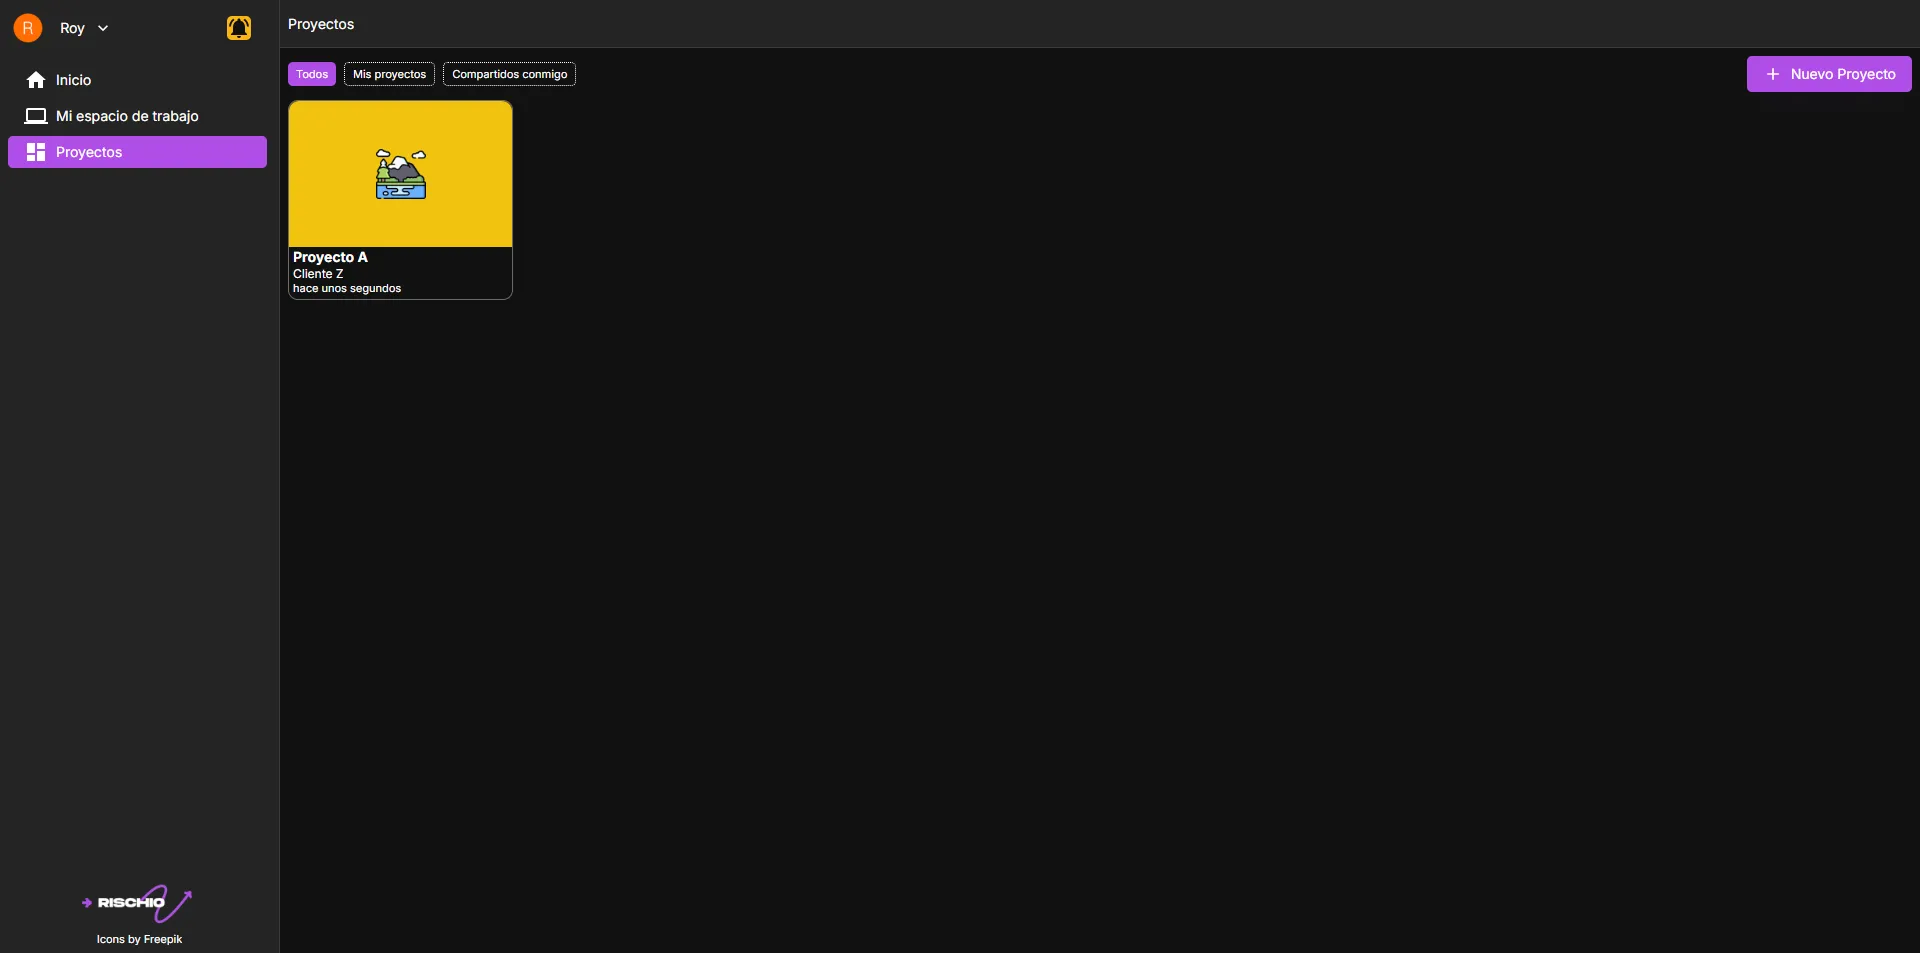
Access from the side menu
In the side menu, click on Projects.
If you’ve already created a project, you’ll see a list of your own projects and the ones shared with you.
Creating a project
Click the New project button. A pop-up window will appear asking for the following basic project information:
- Project name (required)
- Client (required)
- Description (optional)
- Color (required)
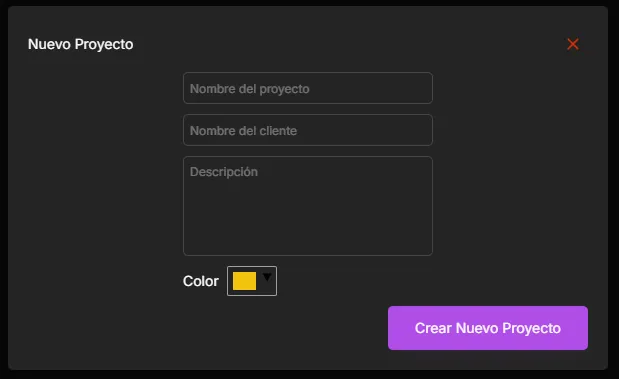
Once you’ve filled in the information, click the Create new project button. The project will appear in the list.
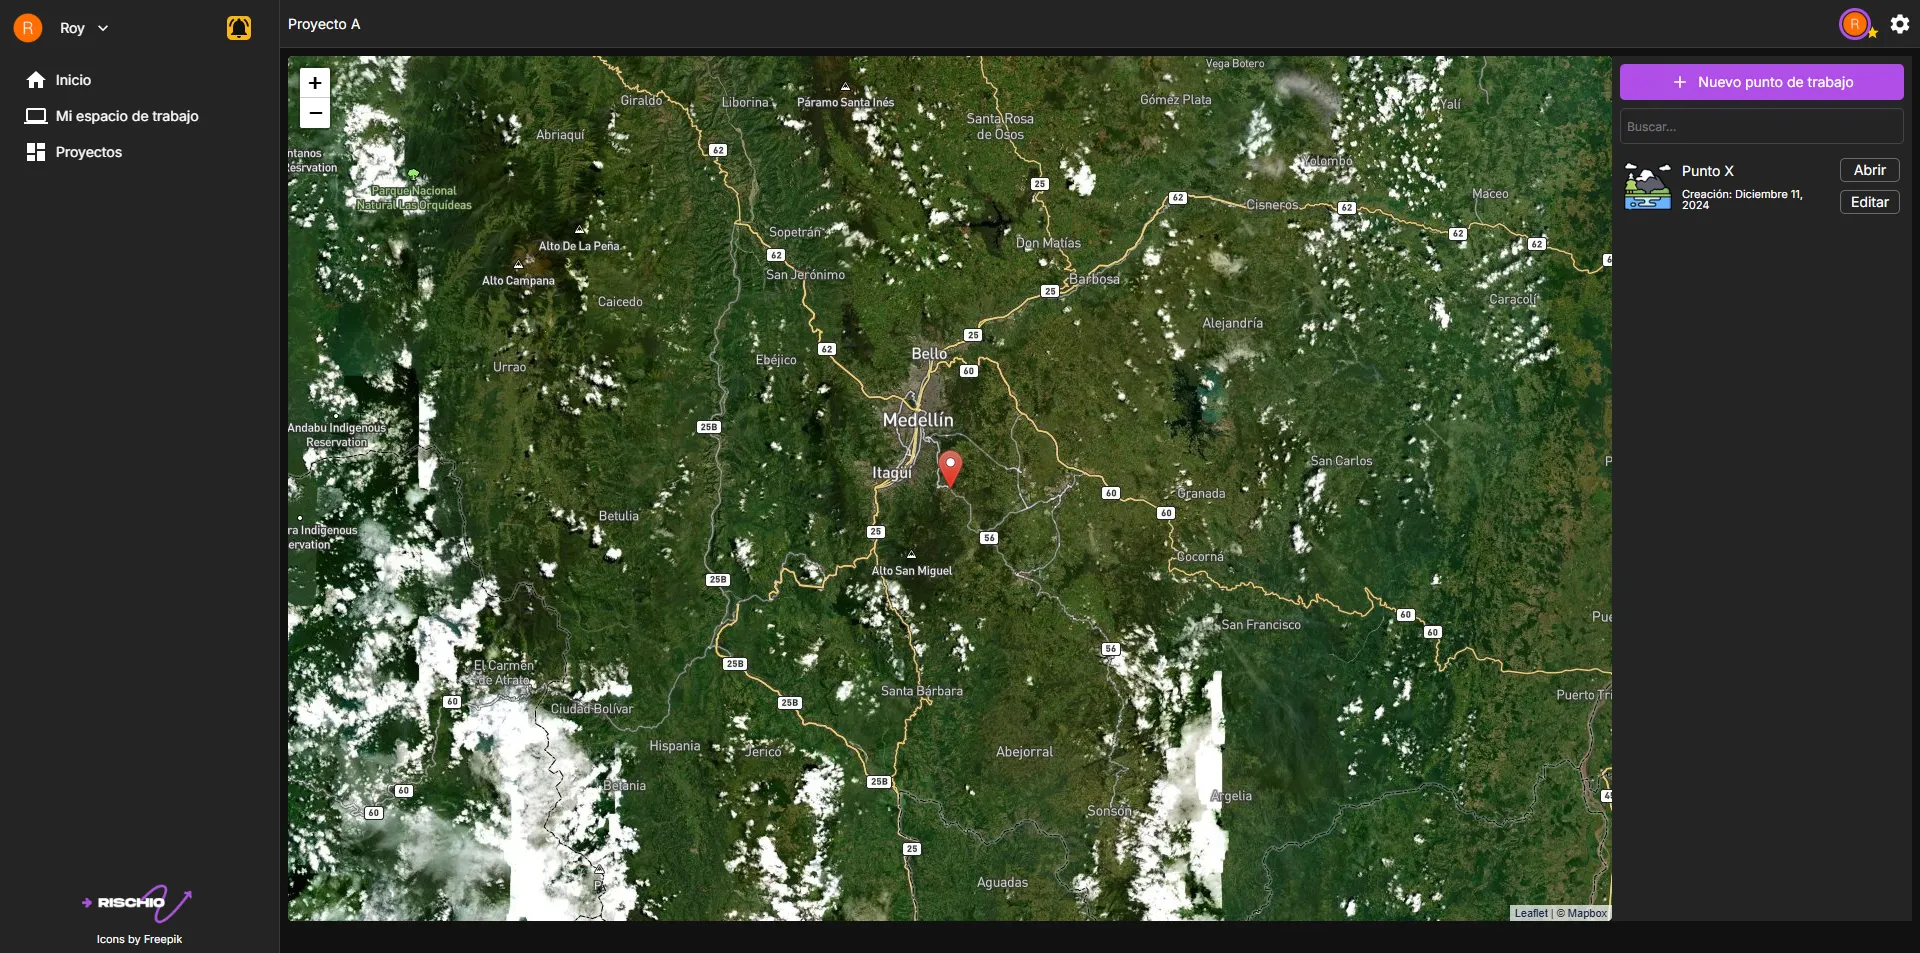
Accessing the project
To open the project you’re interested in, click on it. You’ll be taken to a view similar to My Workspace.
For information on how to create and manage work points, go to My Workspace.
Editing and deleting the project
In addition to the familiar interface, you’ll find a icon in the upper-right corner. Click on it to open a pop-up window where you can edit the project parameters.
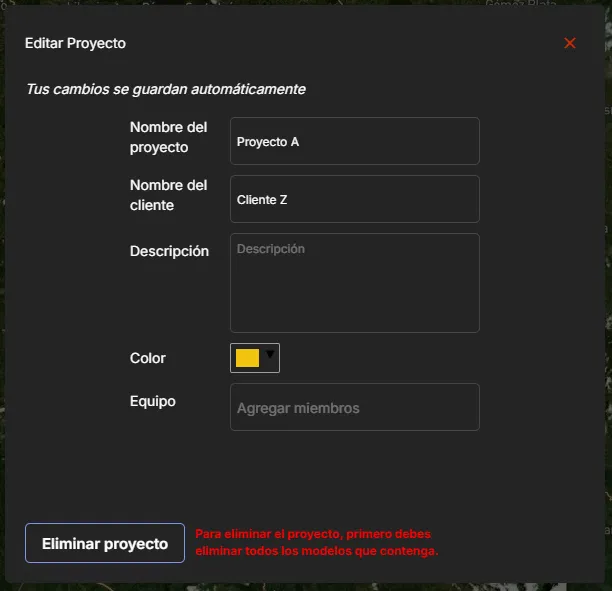
Only the project creator can access this pop-up window.
To delete a project, you must first manually delete each work point within the project. Once all work points are removed, the Delete project button will be enabled. Clicking it will ask you to confirm the deletion.
Adding contacts to the project
In the project edit pop-up, you’ll find the Team section. Here you can add collaborators who will be able to create, edit, and delete work points.
In the Add members text field, type the name of the contact you want to add. Note that they must already be your contact, as explained in the Settings section.
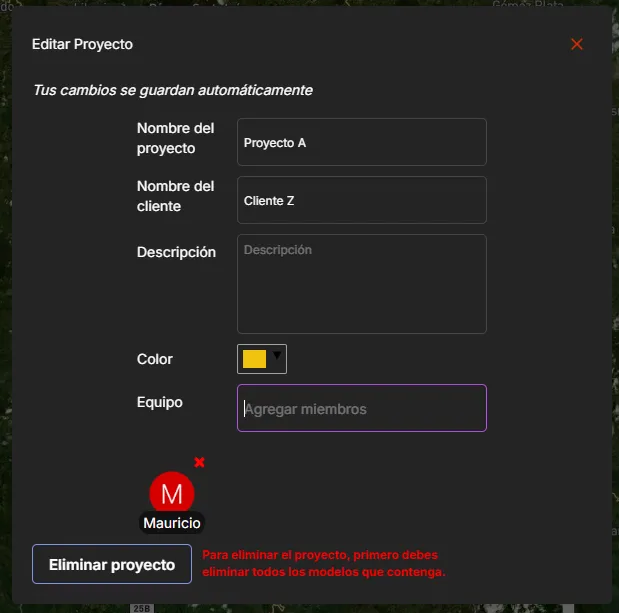
To remove a team member, simply click the icon next to their profile picture.