

Get started with Rischio
Your first model in Rischio: start from a template or describe it to the AI, change it to your case, calculate it and open its calculation report.
Rischio’s studio runs in the browser, at studio.rischio.io. A model is one calculation: a retaining wall, a footing, a pile or a pile group, or an open channel. This page takes one from a template to its calculation report, in a few minutes.
1. Create your account
Sign up with Google or Microsoft (a personal, work or school account), or with your email, at studio.rischio.io/sign_up. With an email, Rischio sends you a 6-digit code to verify it.
Every new account starts with 14 days of Professional, with no card. After that it moves to the free plan, which has every tool and every calculation and keeps up to 3 models. An academic email gets Rischio Education instead: Professional for 6 months, free. The plans are on Pricing.
2. Start a model
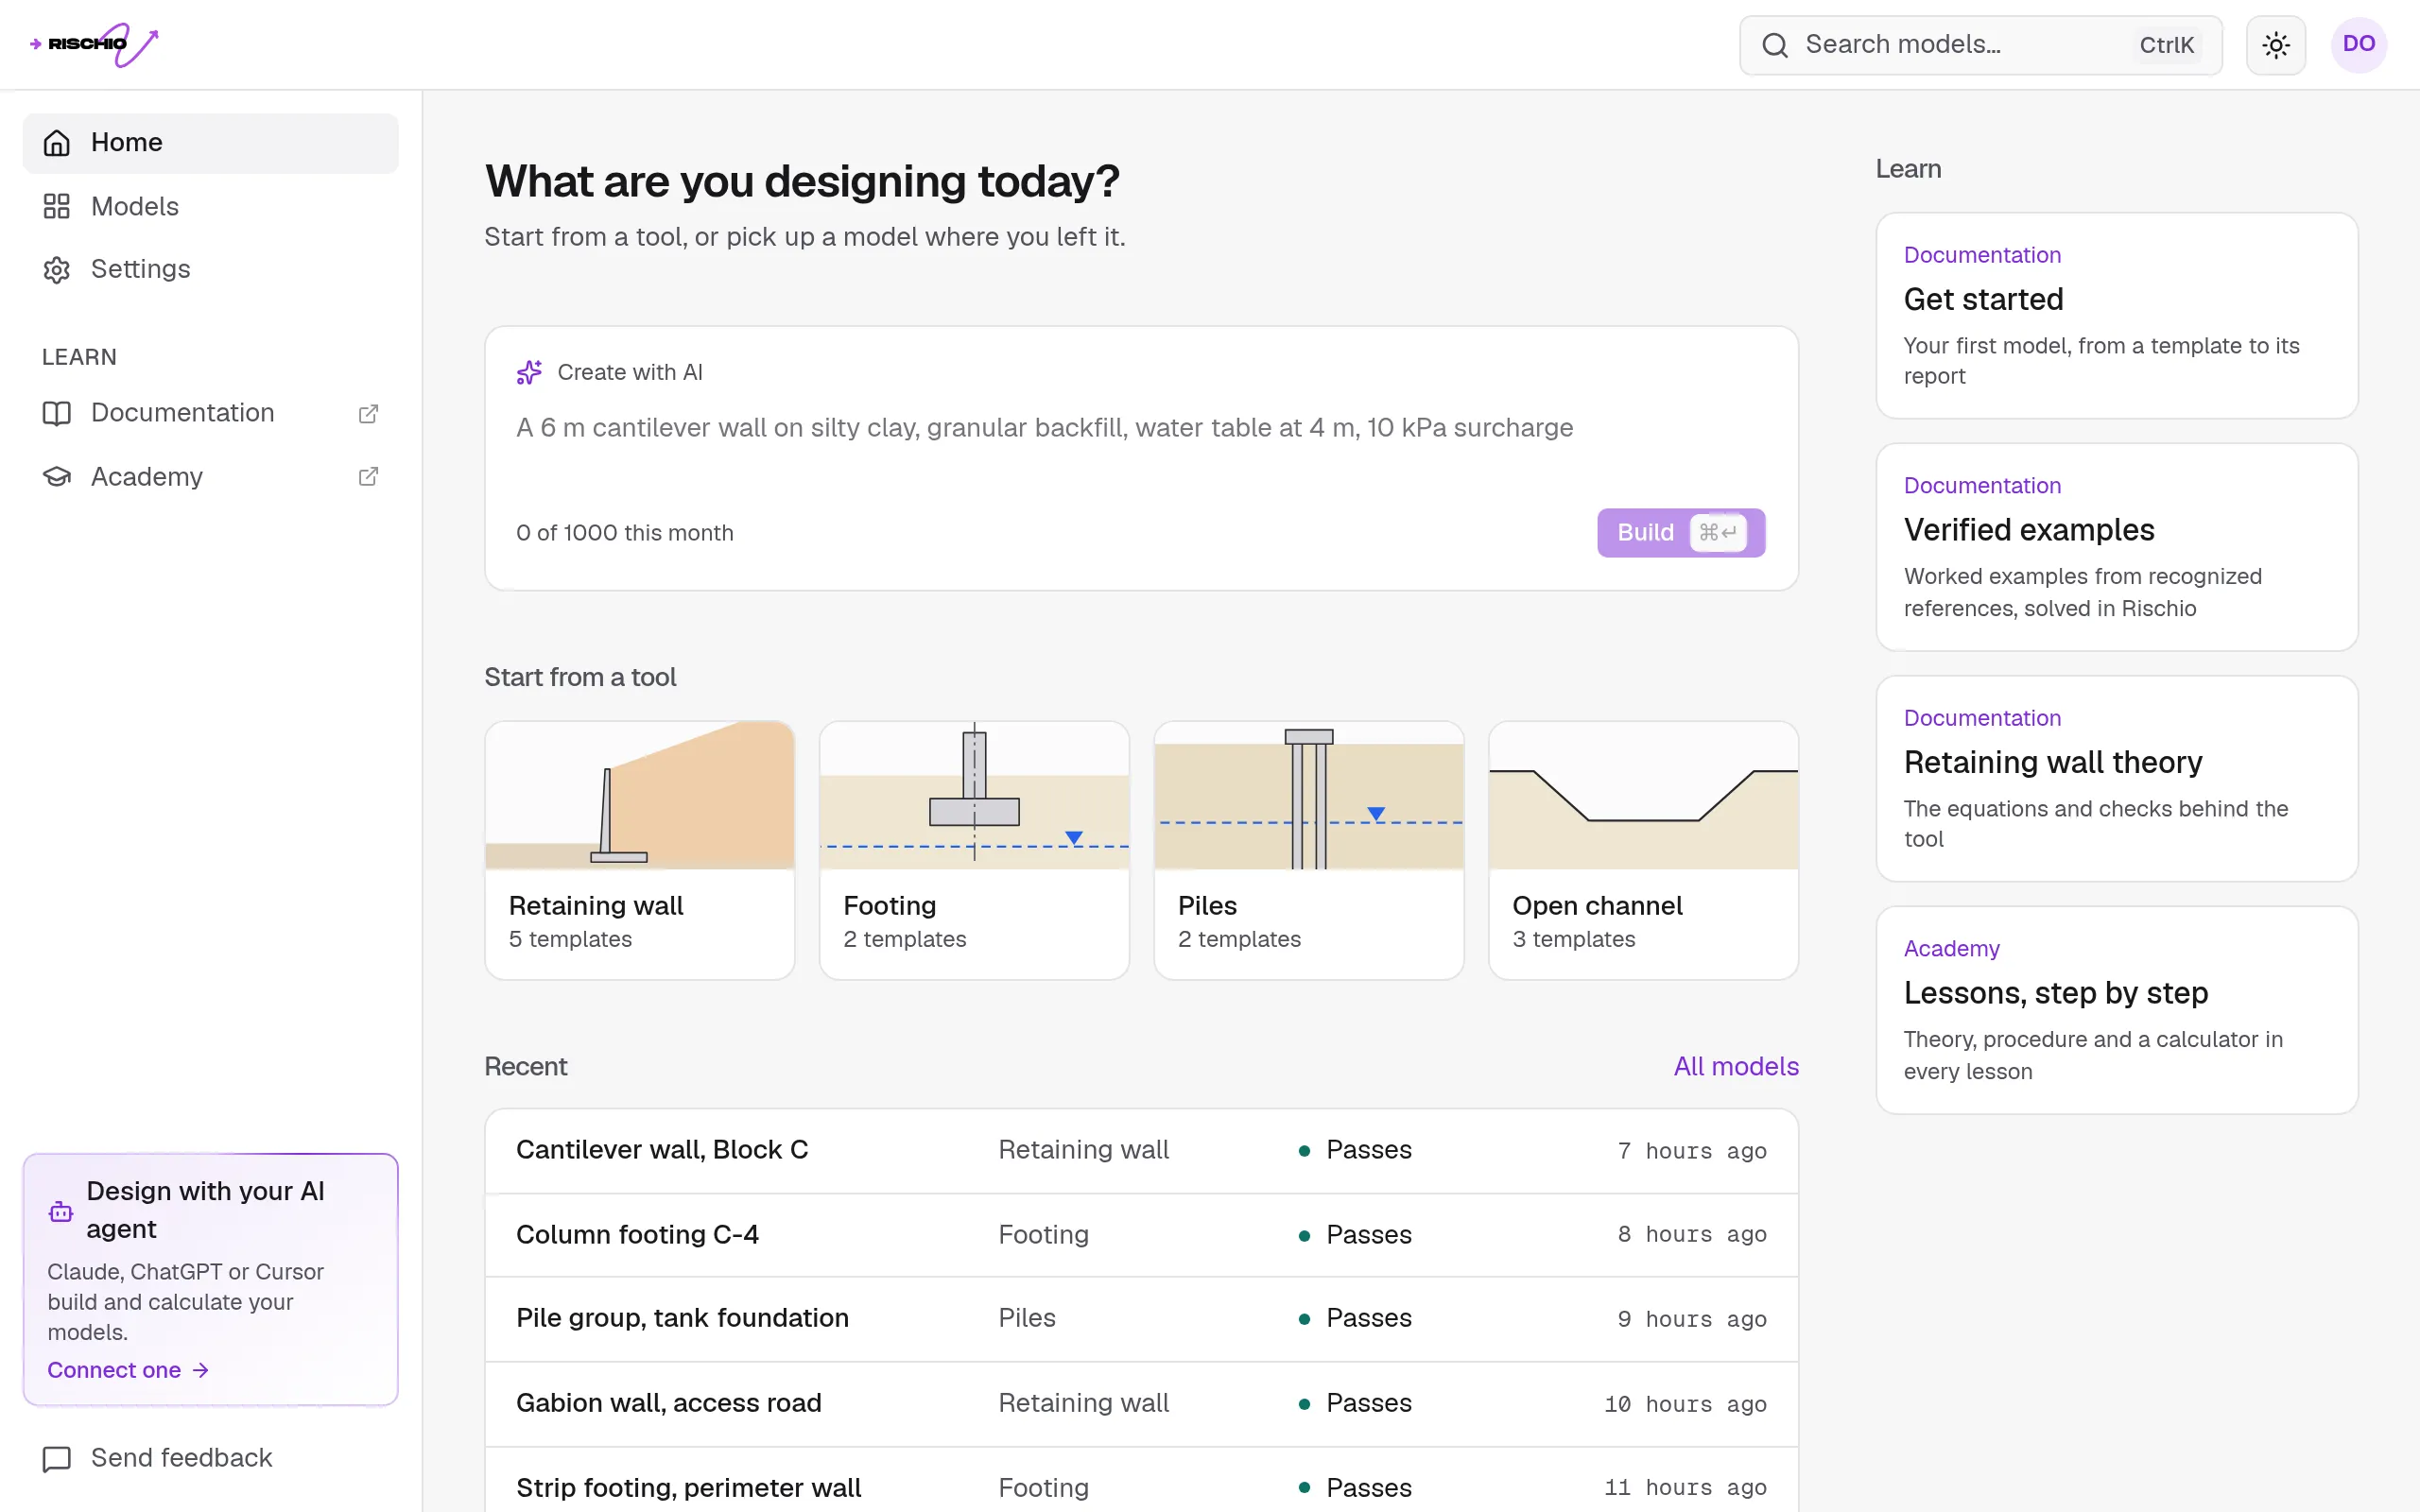
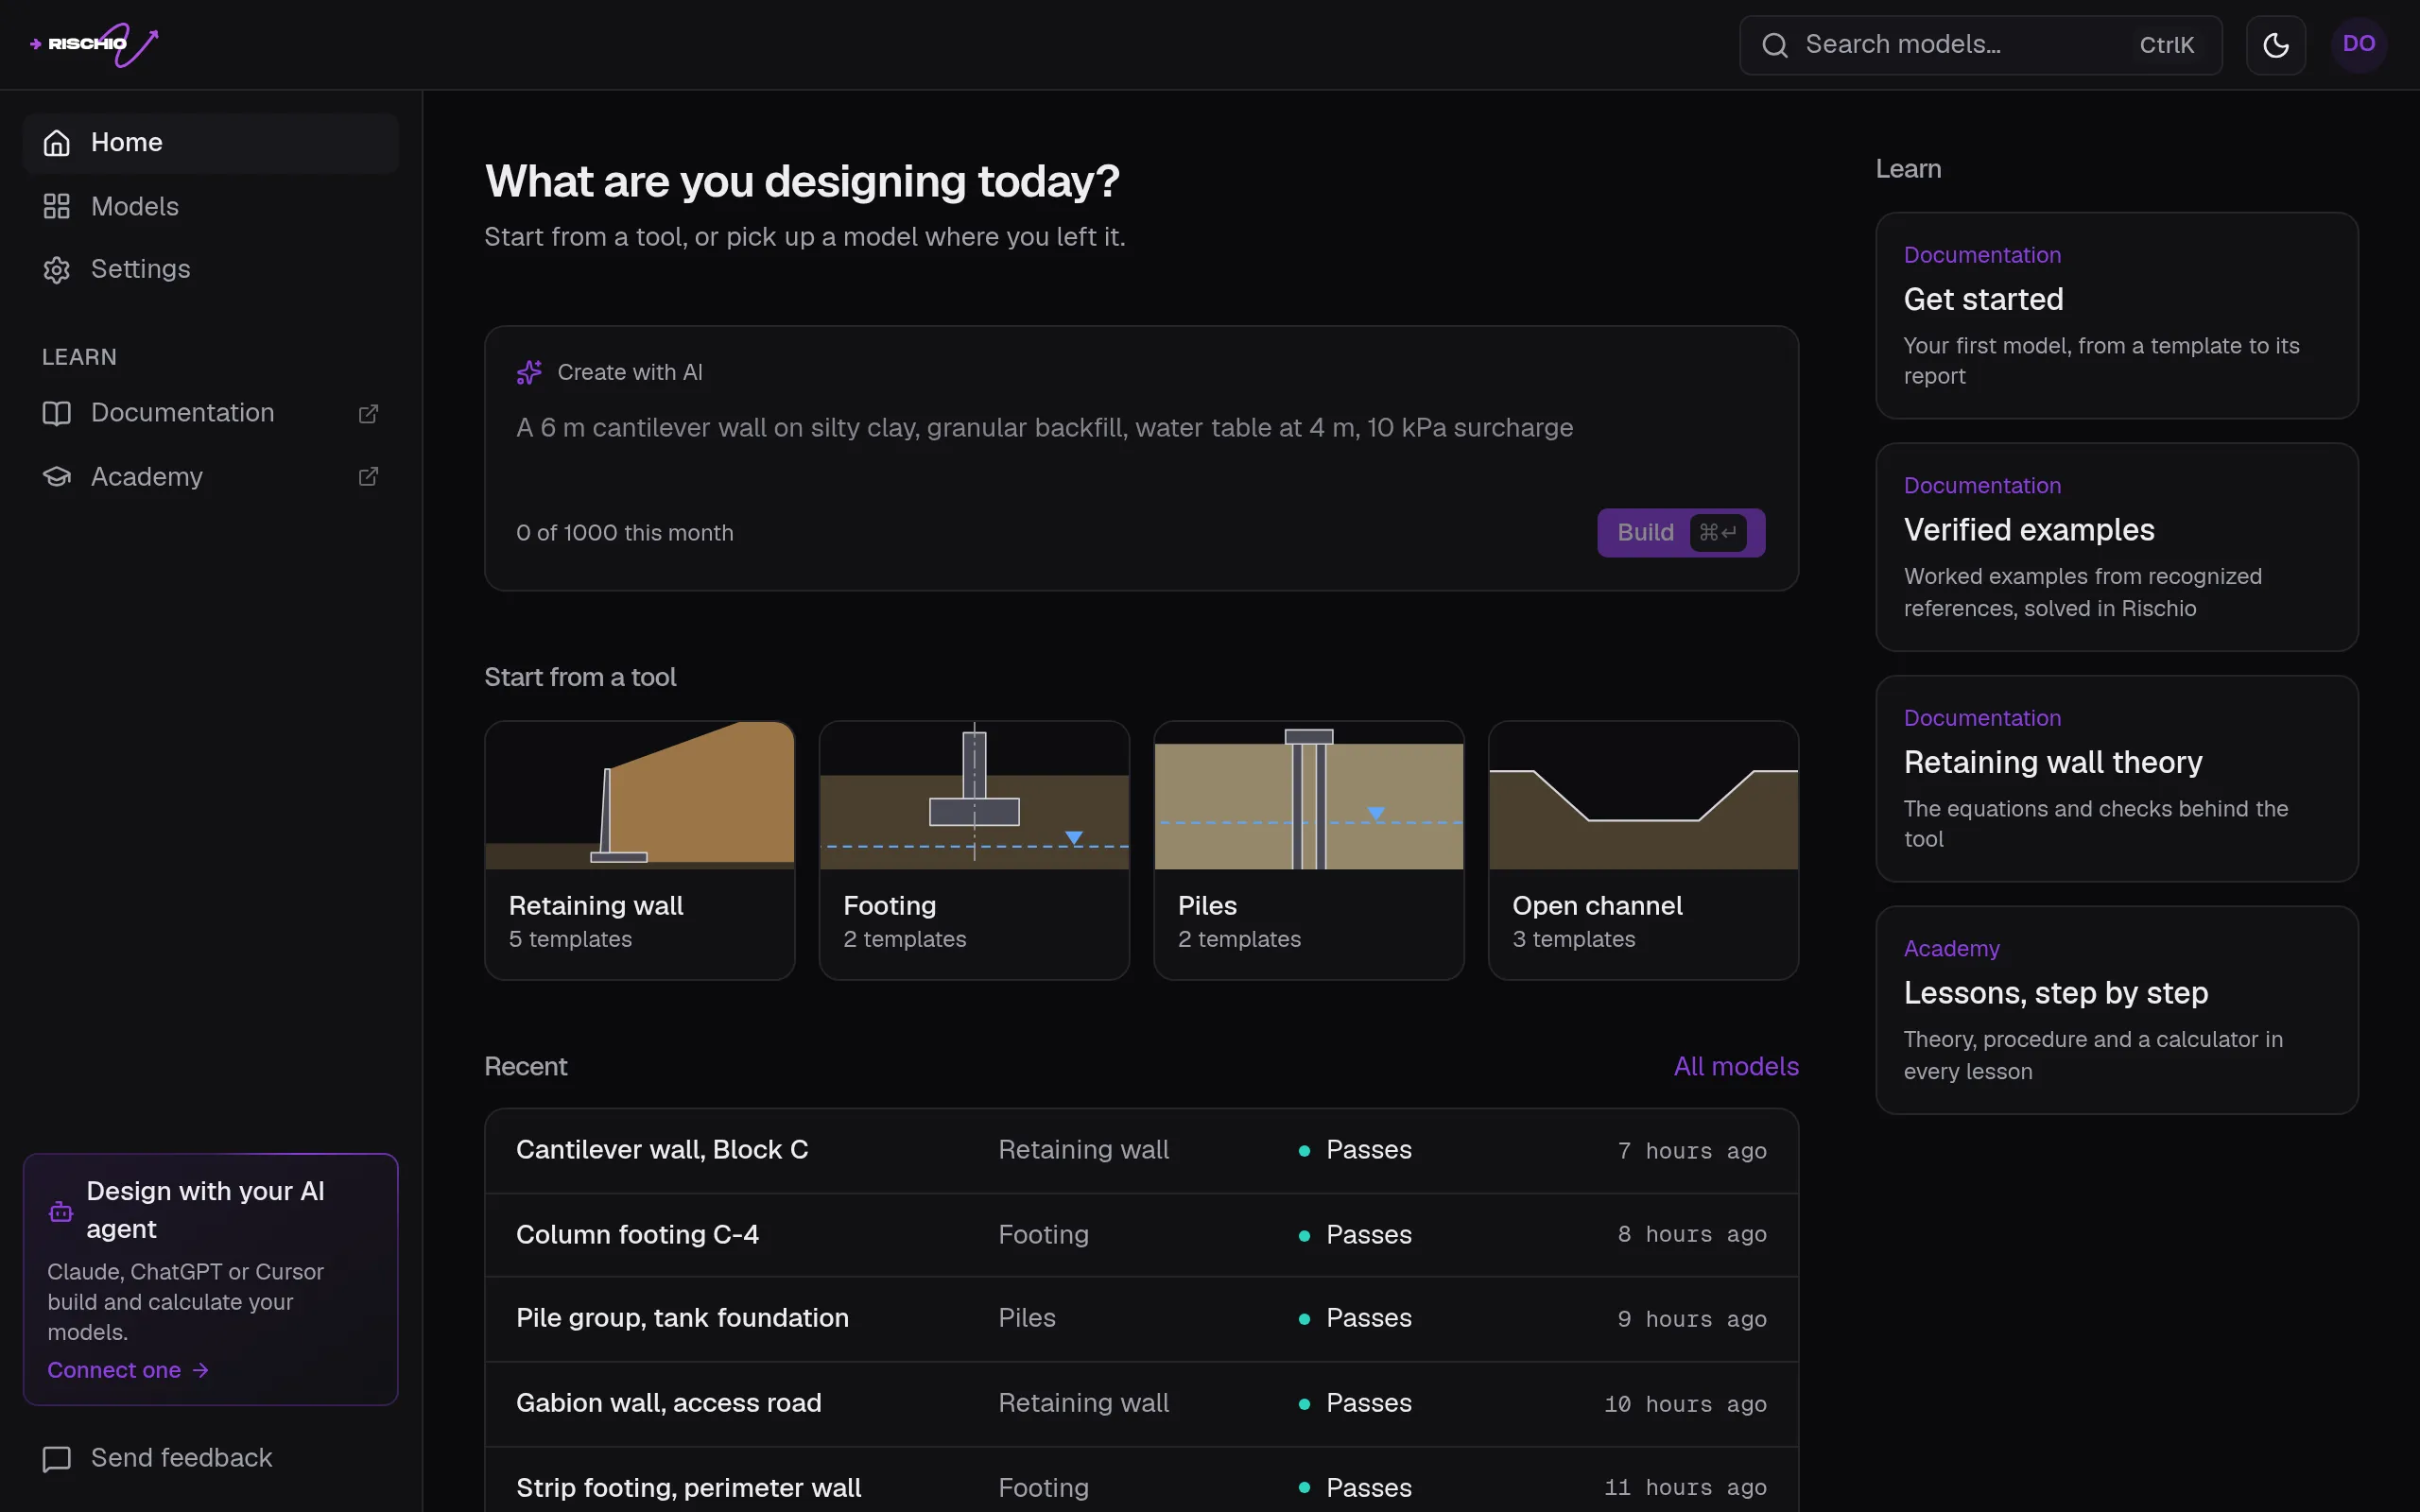
On the studio’s home page, under Start from a tool, pick a tool and then one of its templates. The model opens in the editor, named after the template.
Every model starts from something you then change to your case: a template, a sentence for the AI (Create a model with AI), a verified example opened with Open in the studio, or a copy of one of your models.
3. Change it to your case
The editor has the model’s elements on the left, its drawing in the middle, and on the right the Properties of what you select.
- Click the wall’s stem, on the drawing or in the list. Its handles appear: drag one to change a dimension, or type the value in Properties.
- The + next to a group adds to it: a stratum, a water table, a surcharge.
- Each change is saved as you make it, and ⌘Z (Ctrl+Z) undoes it.
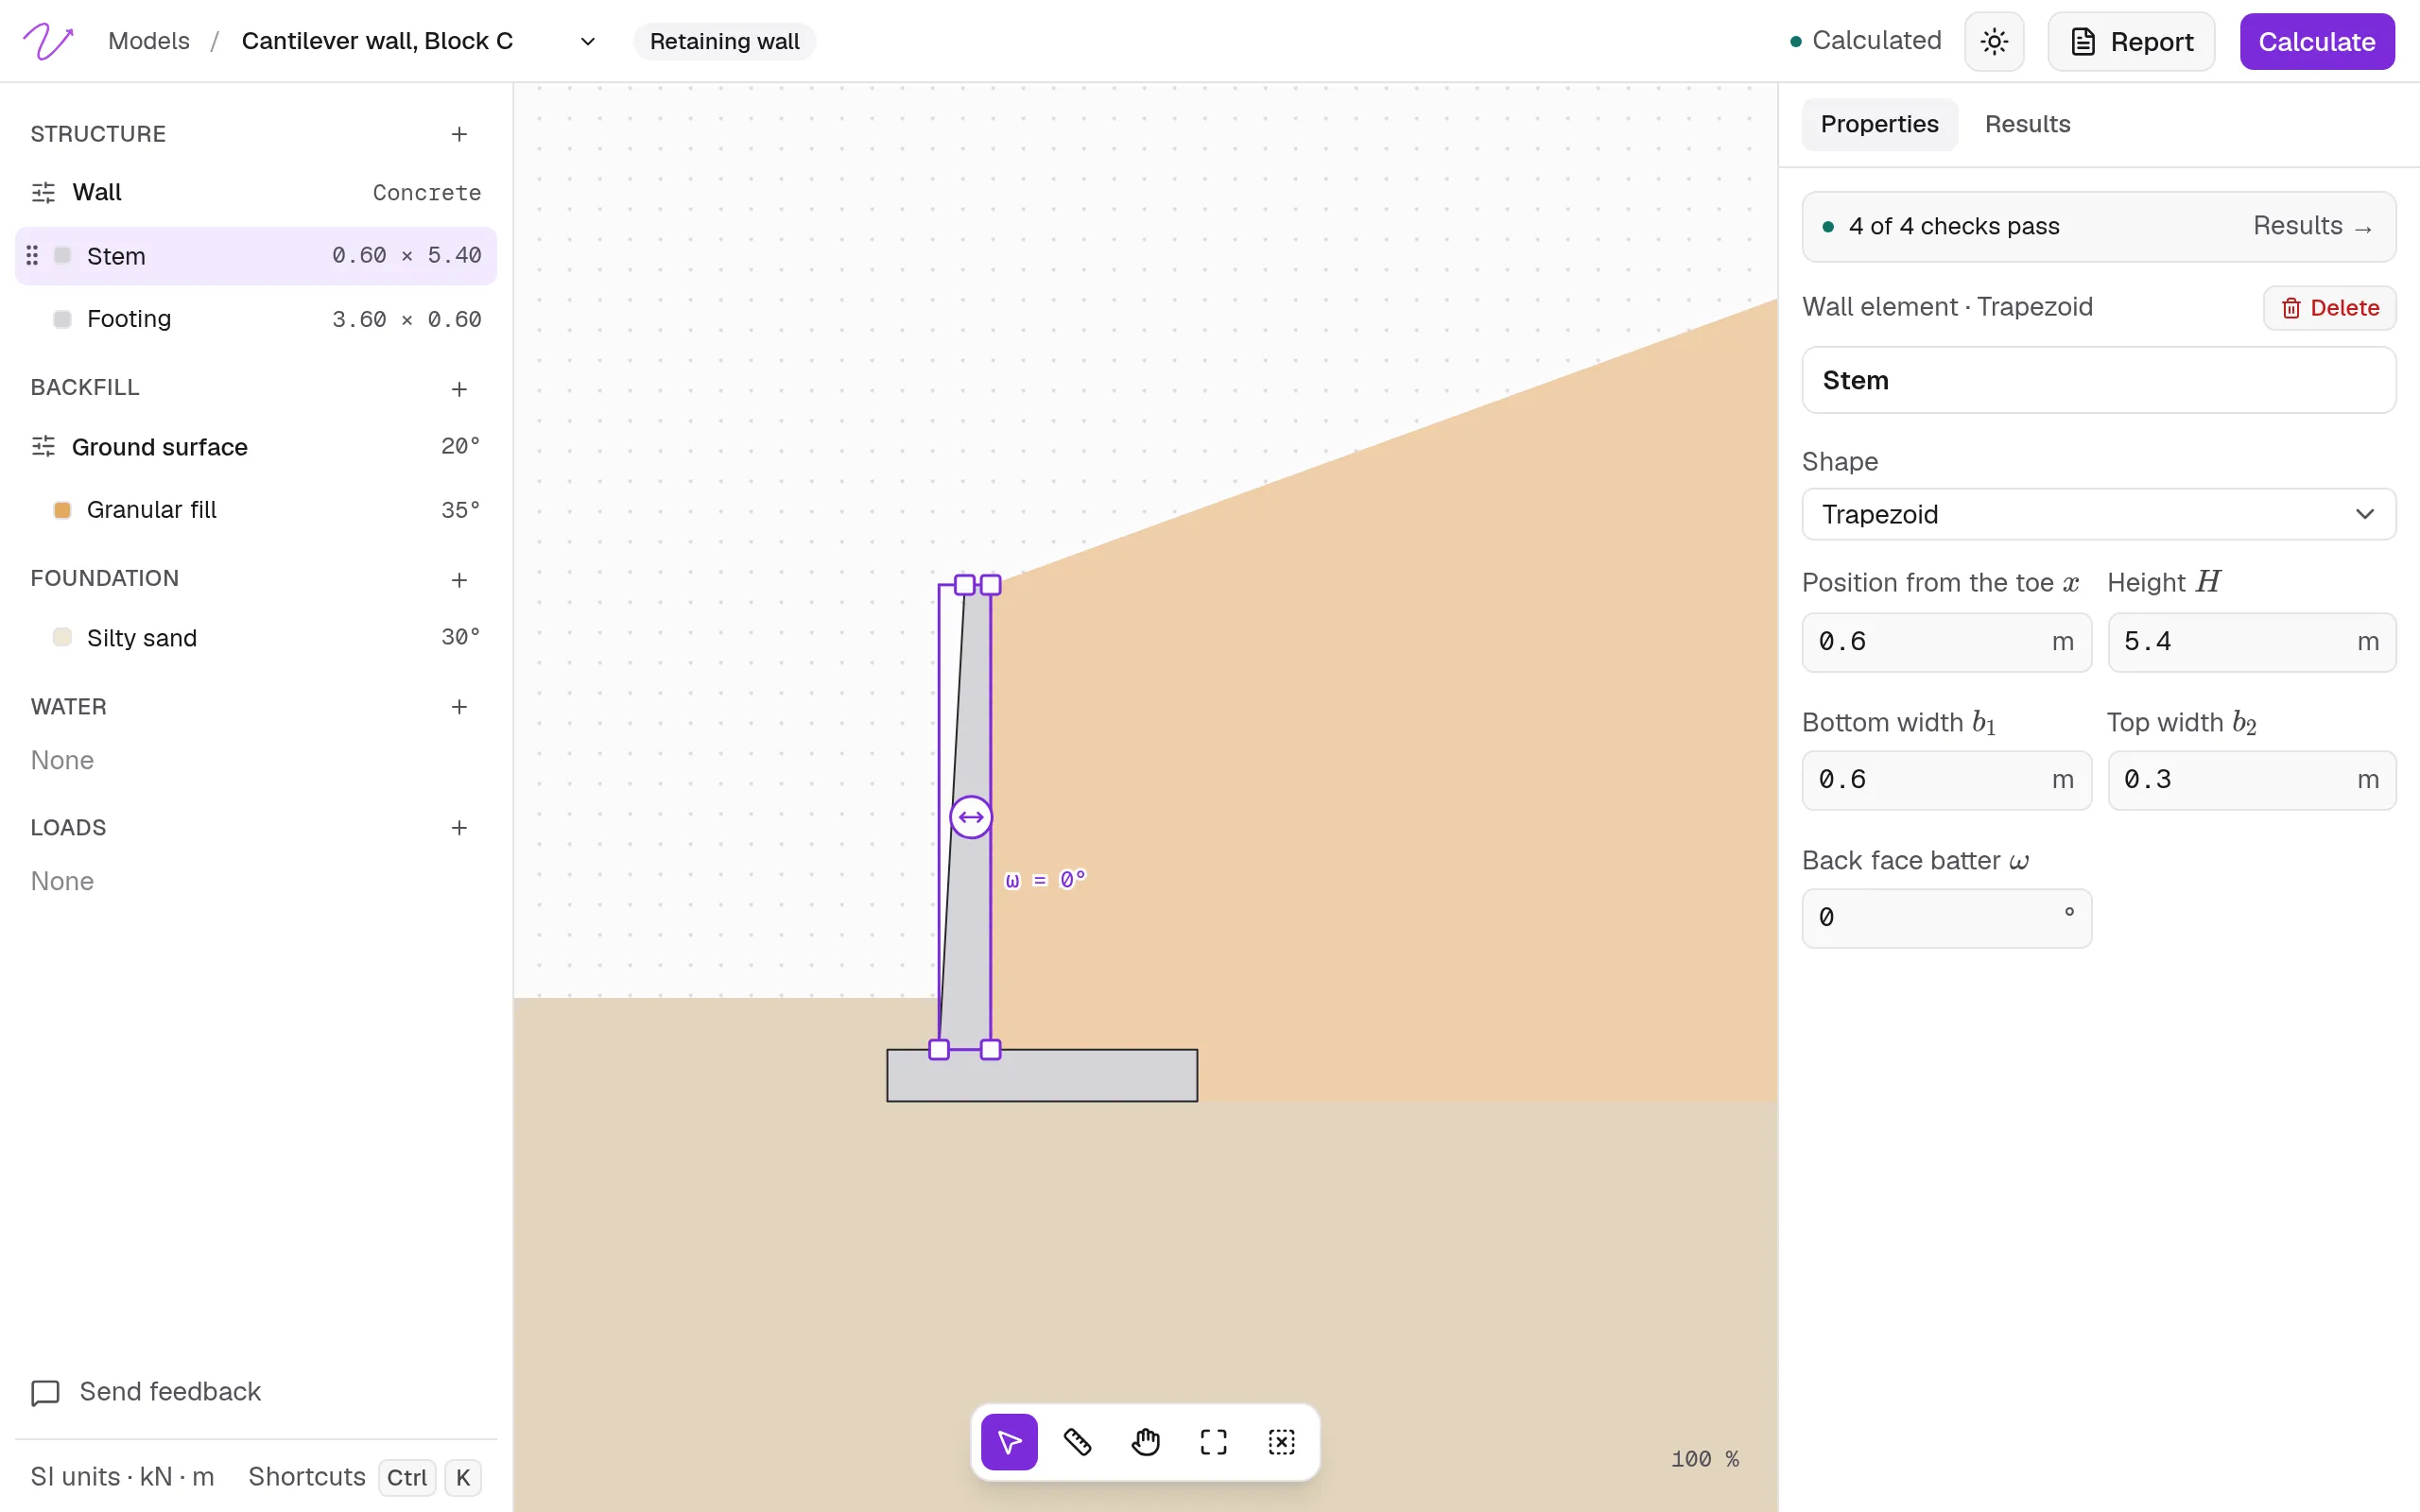
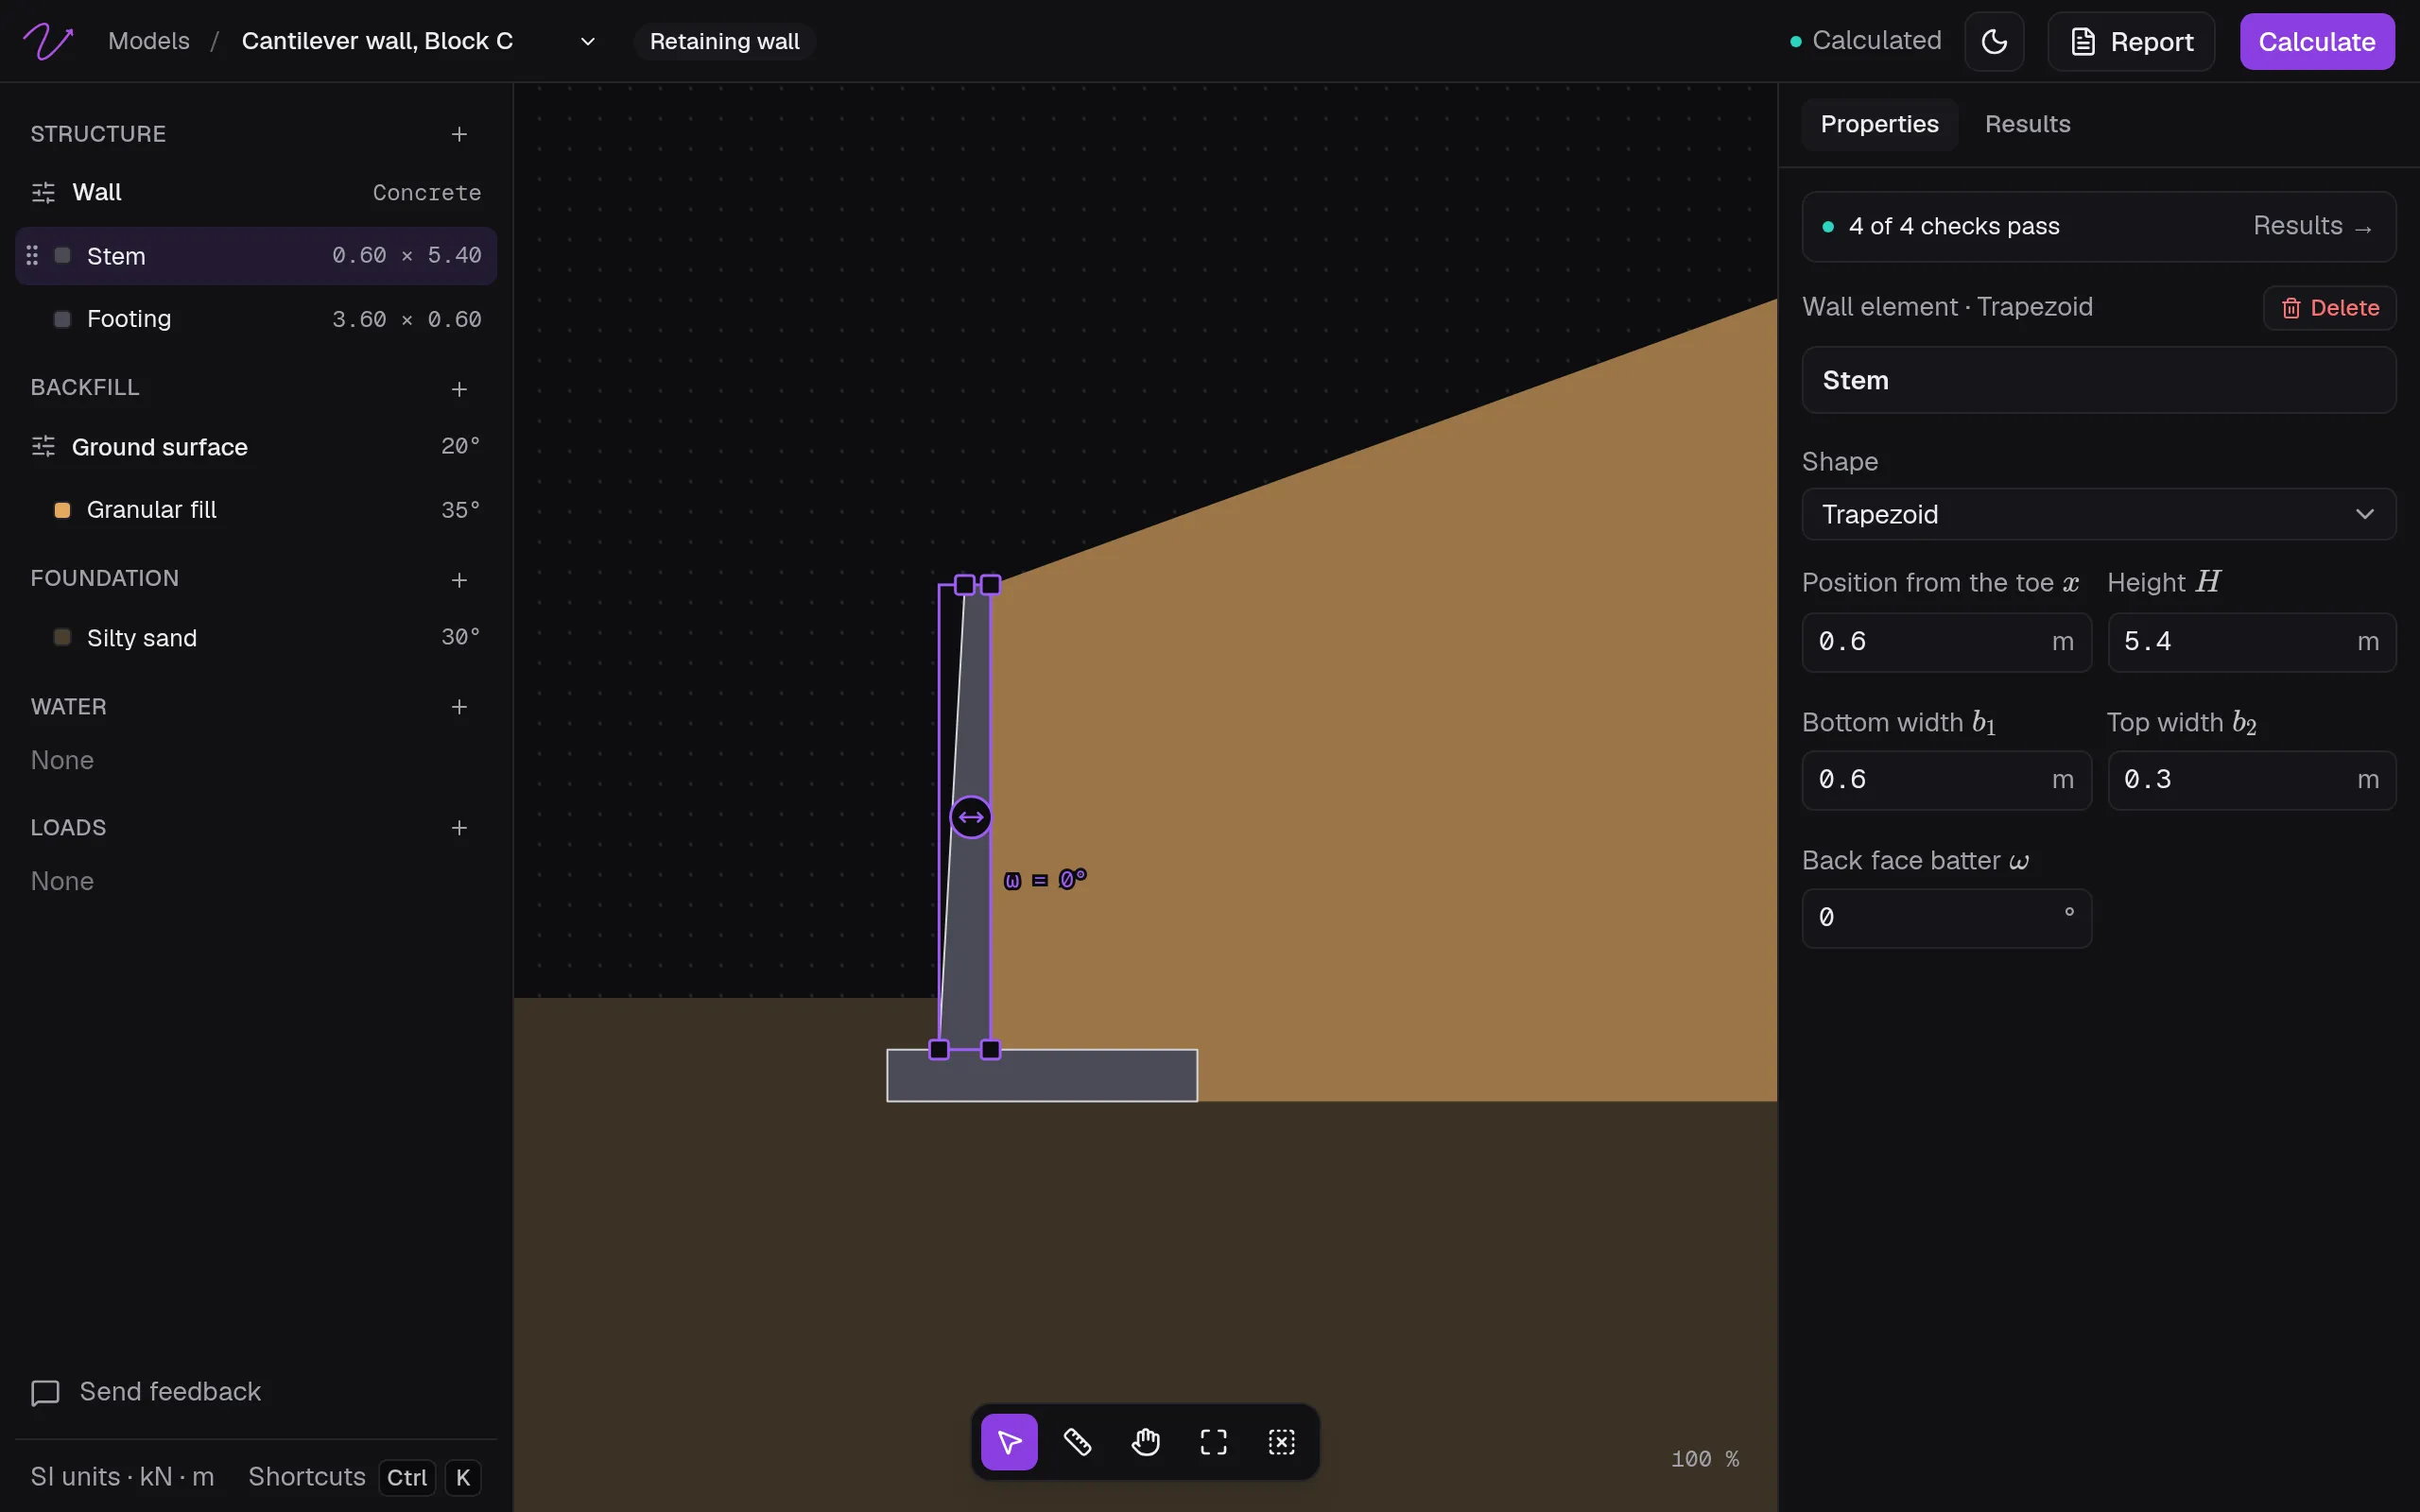
The editor, piece by piece: The editor.
4. Calculate it
Press Calculate, or ⌘↵ (Ctrl+Enter). The Results tab opens with every check against its limit, and the drawing shows the diagram of the one closest to its limit. View details, on a check, shows its equation with every value in it.
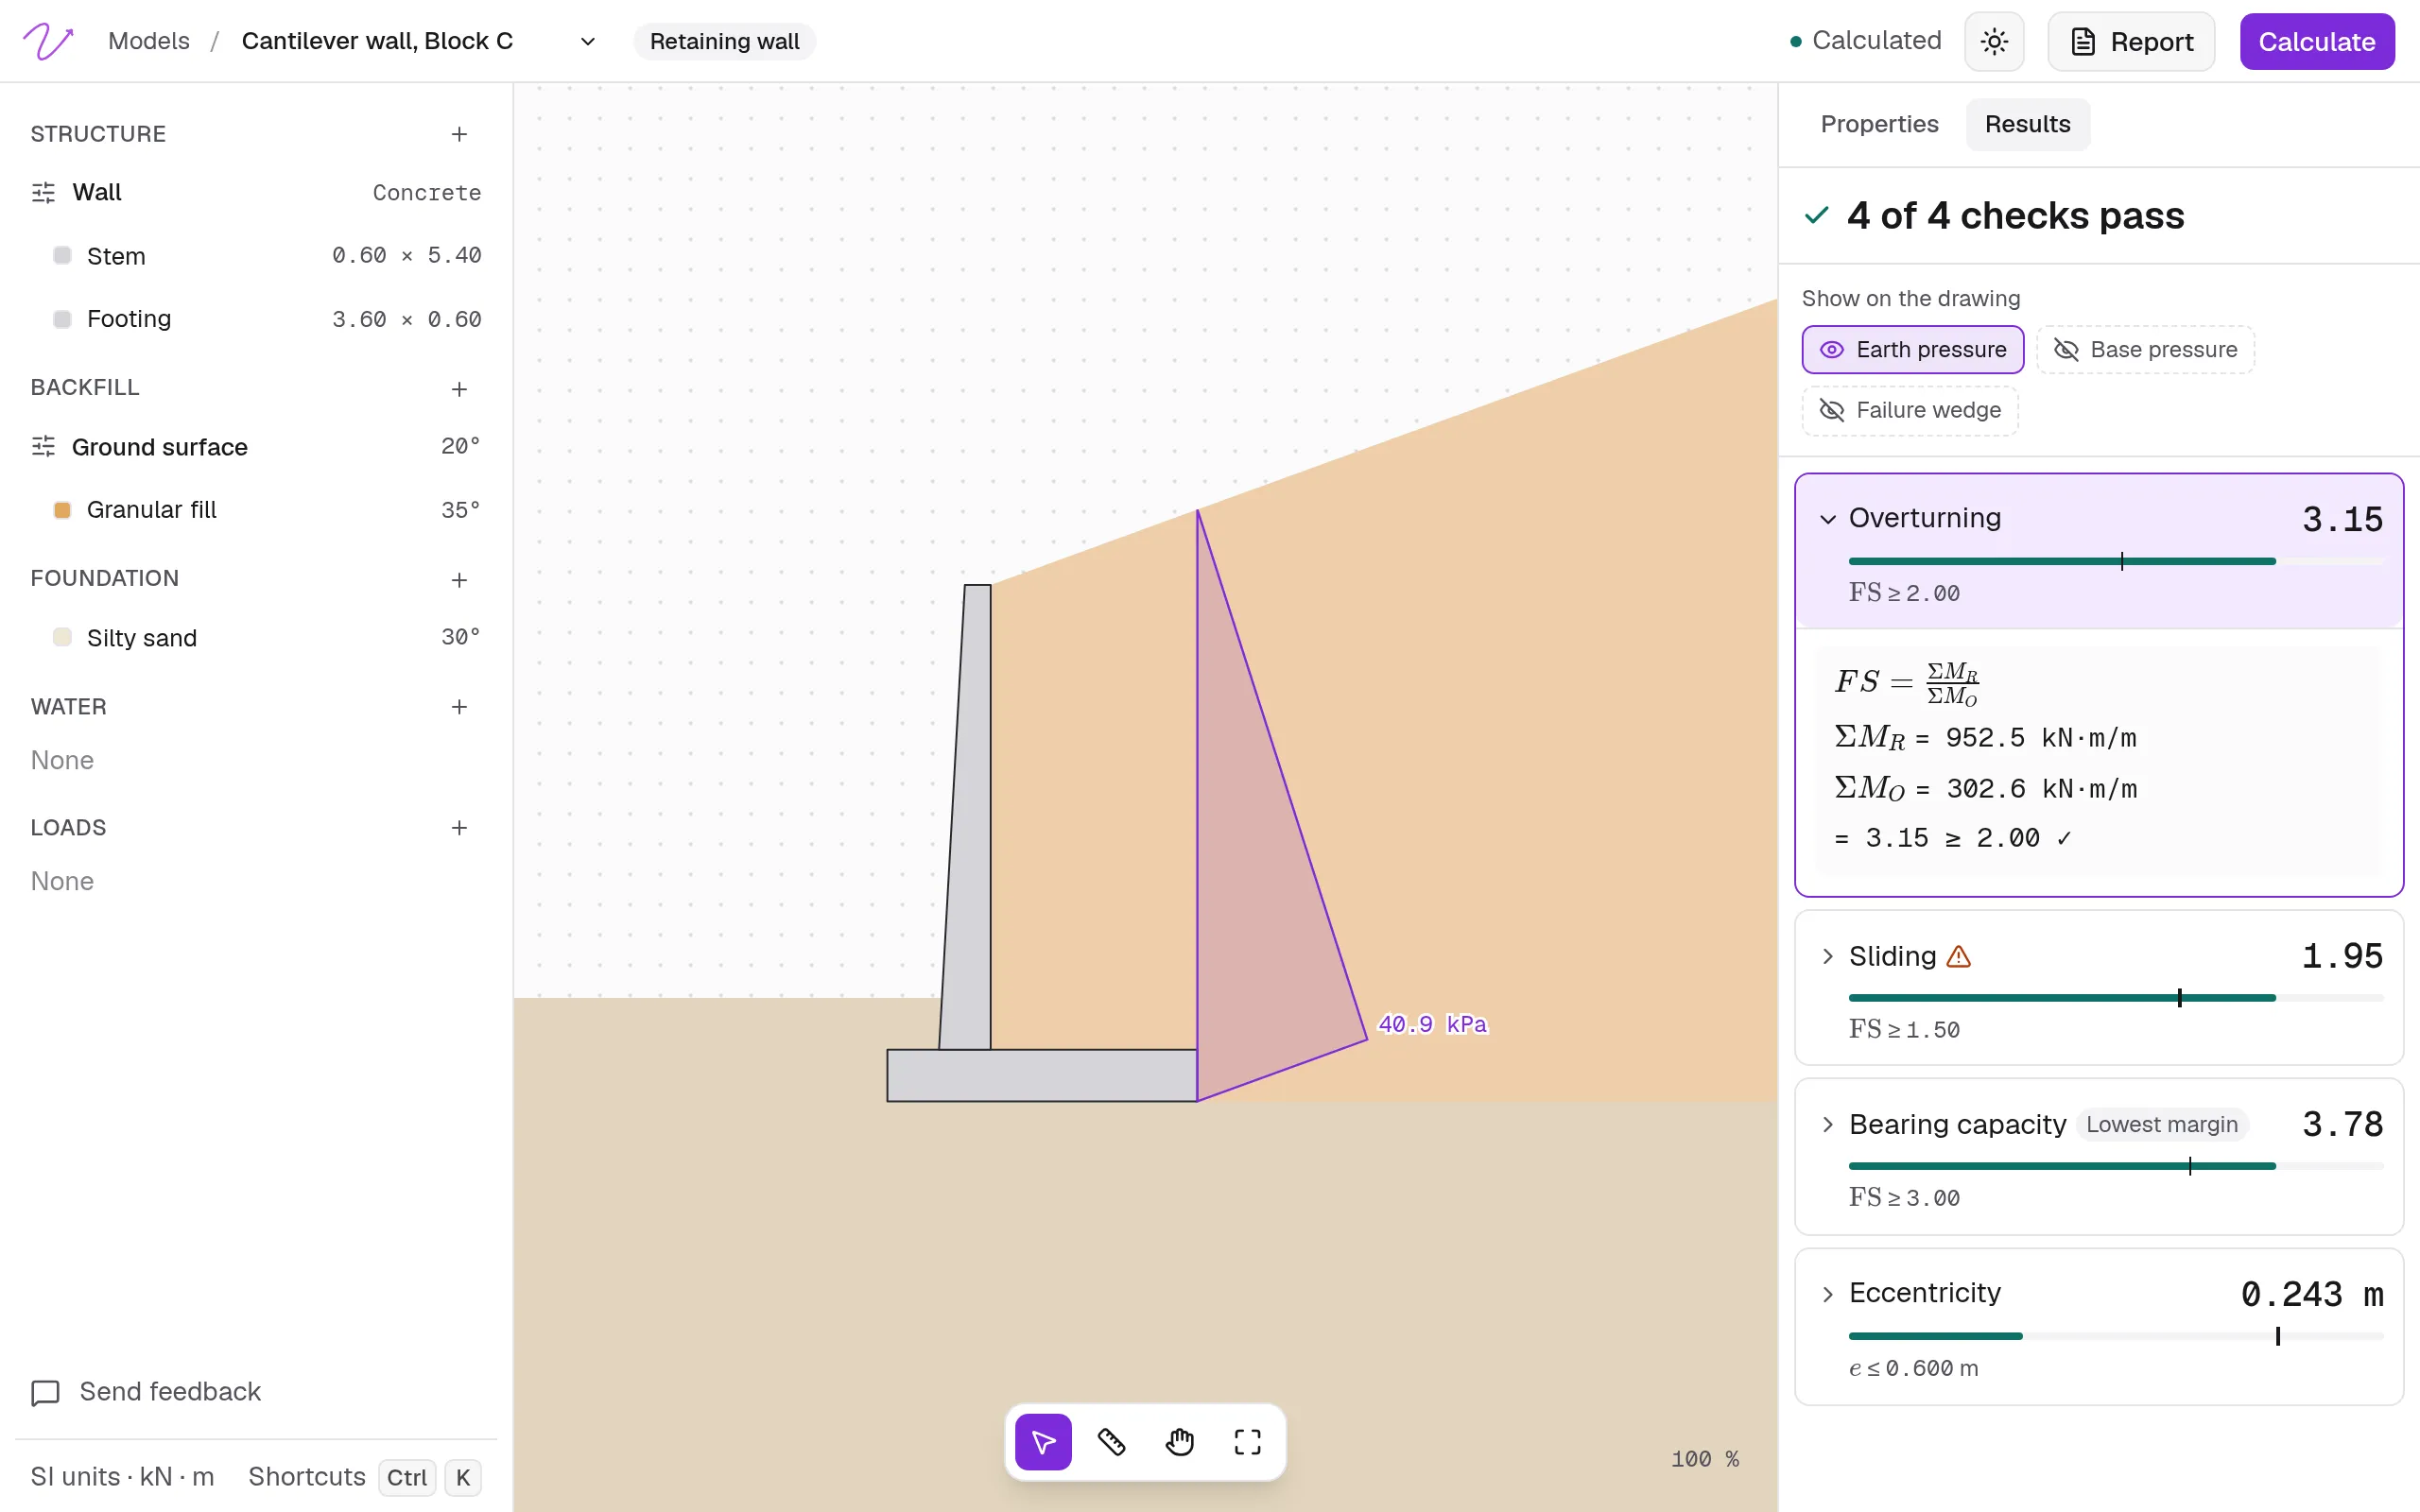
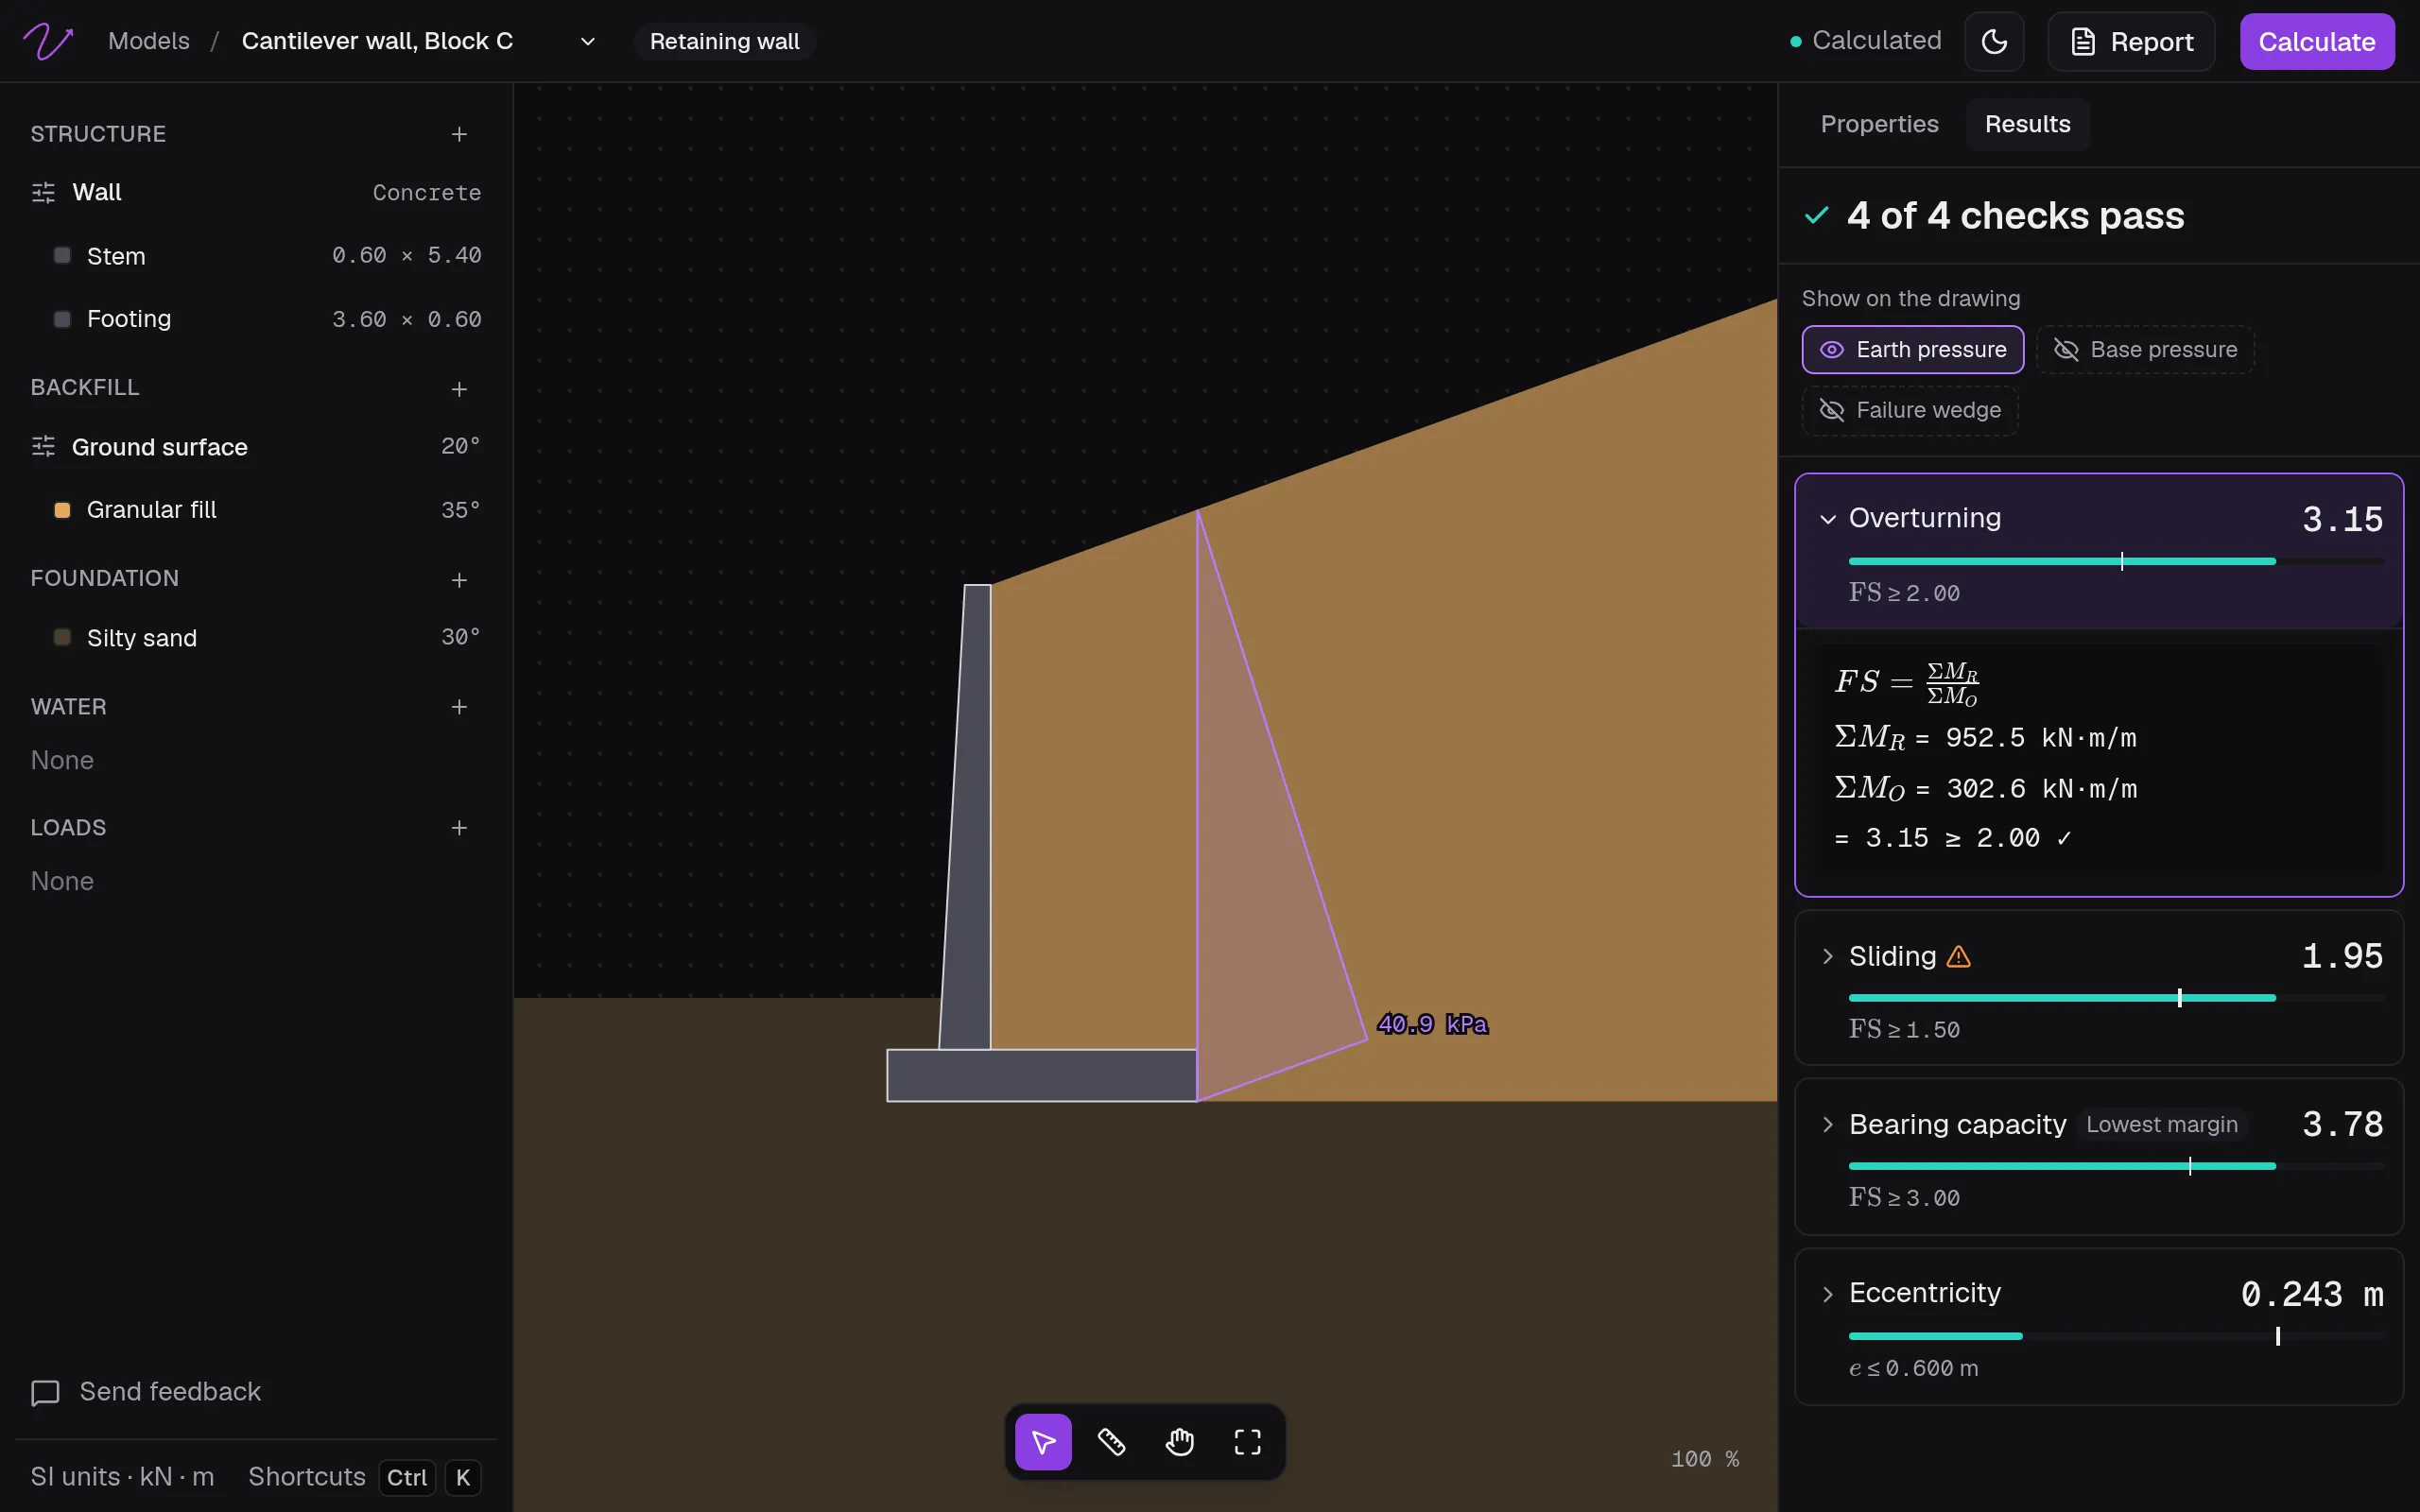
Change the model afterwards and its results are marked Out of date until you calculate again. How to read them: Results.
5. Open the report
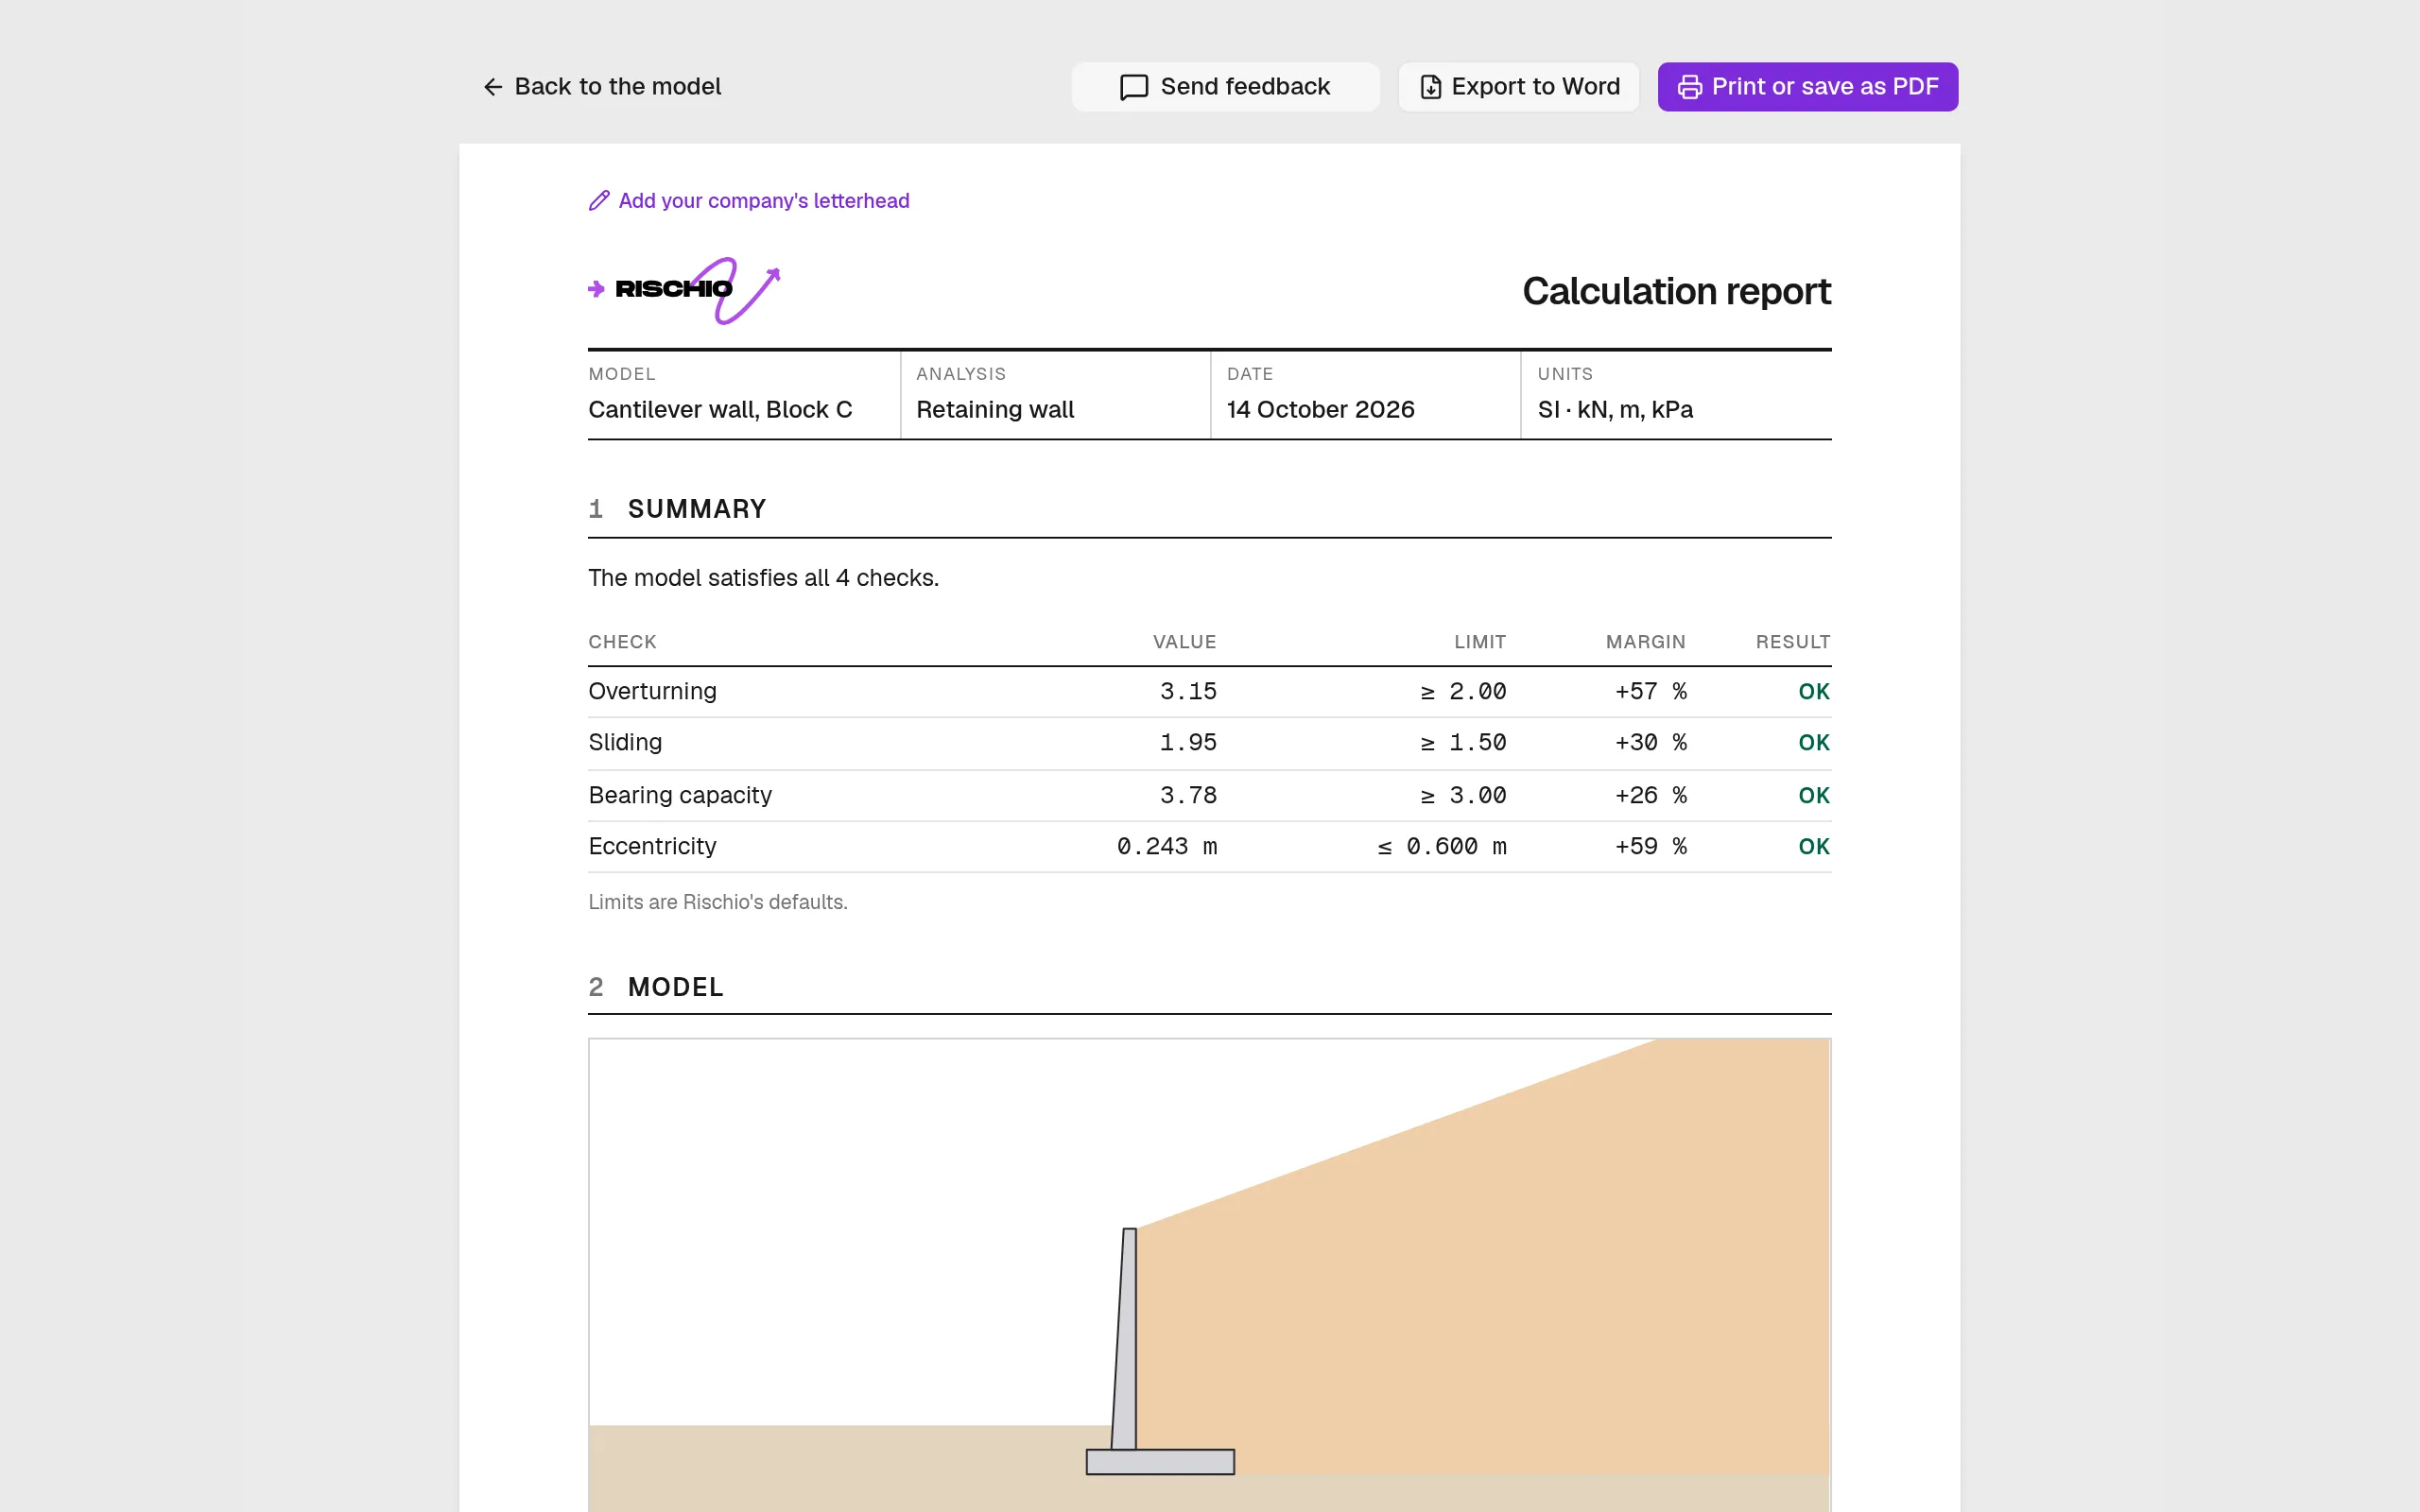
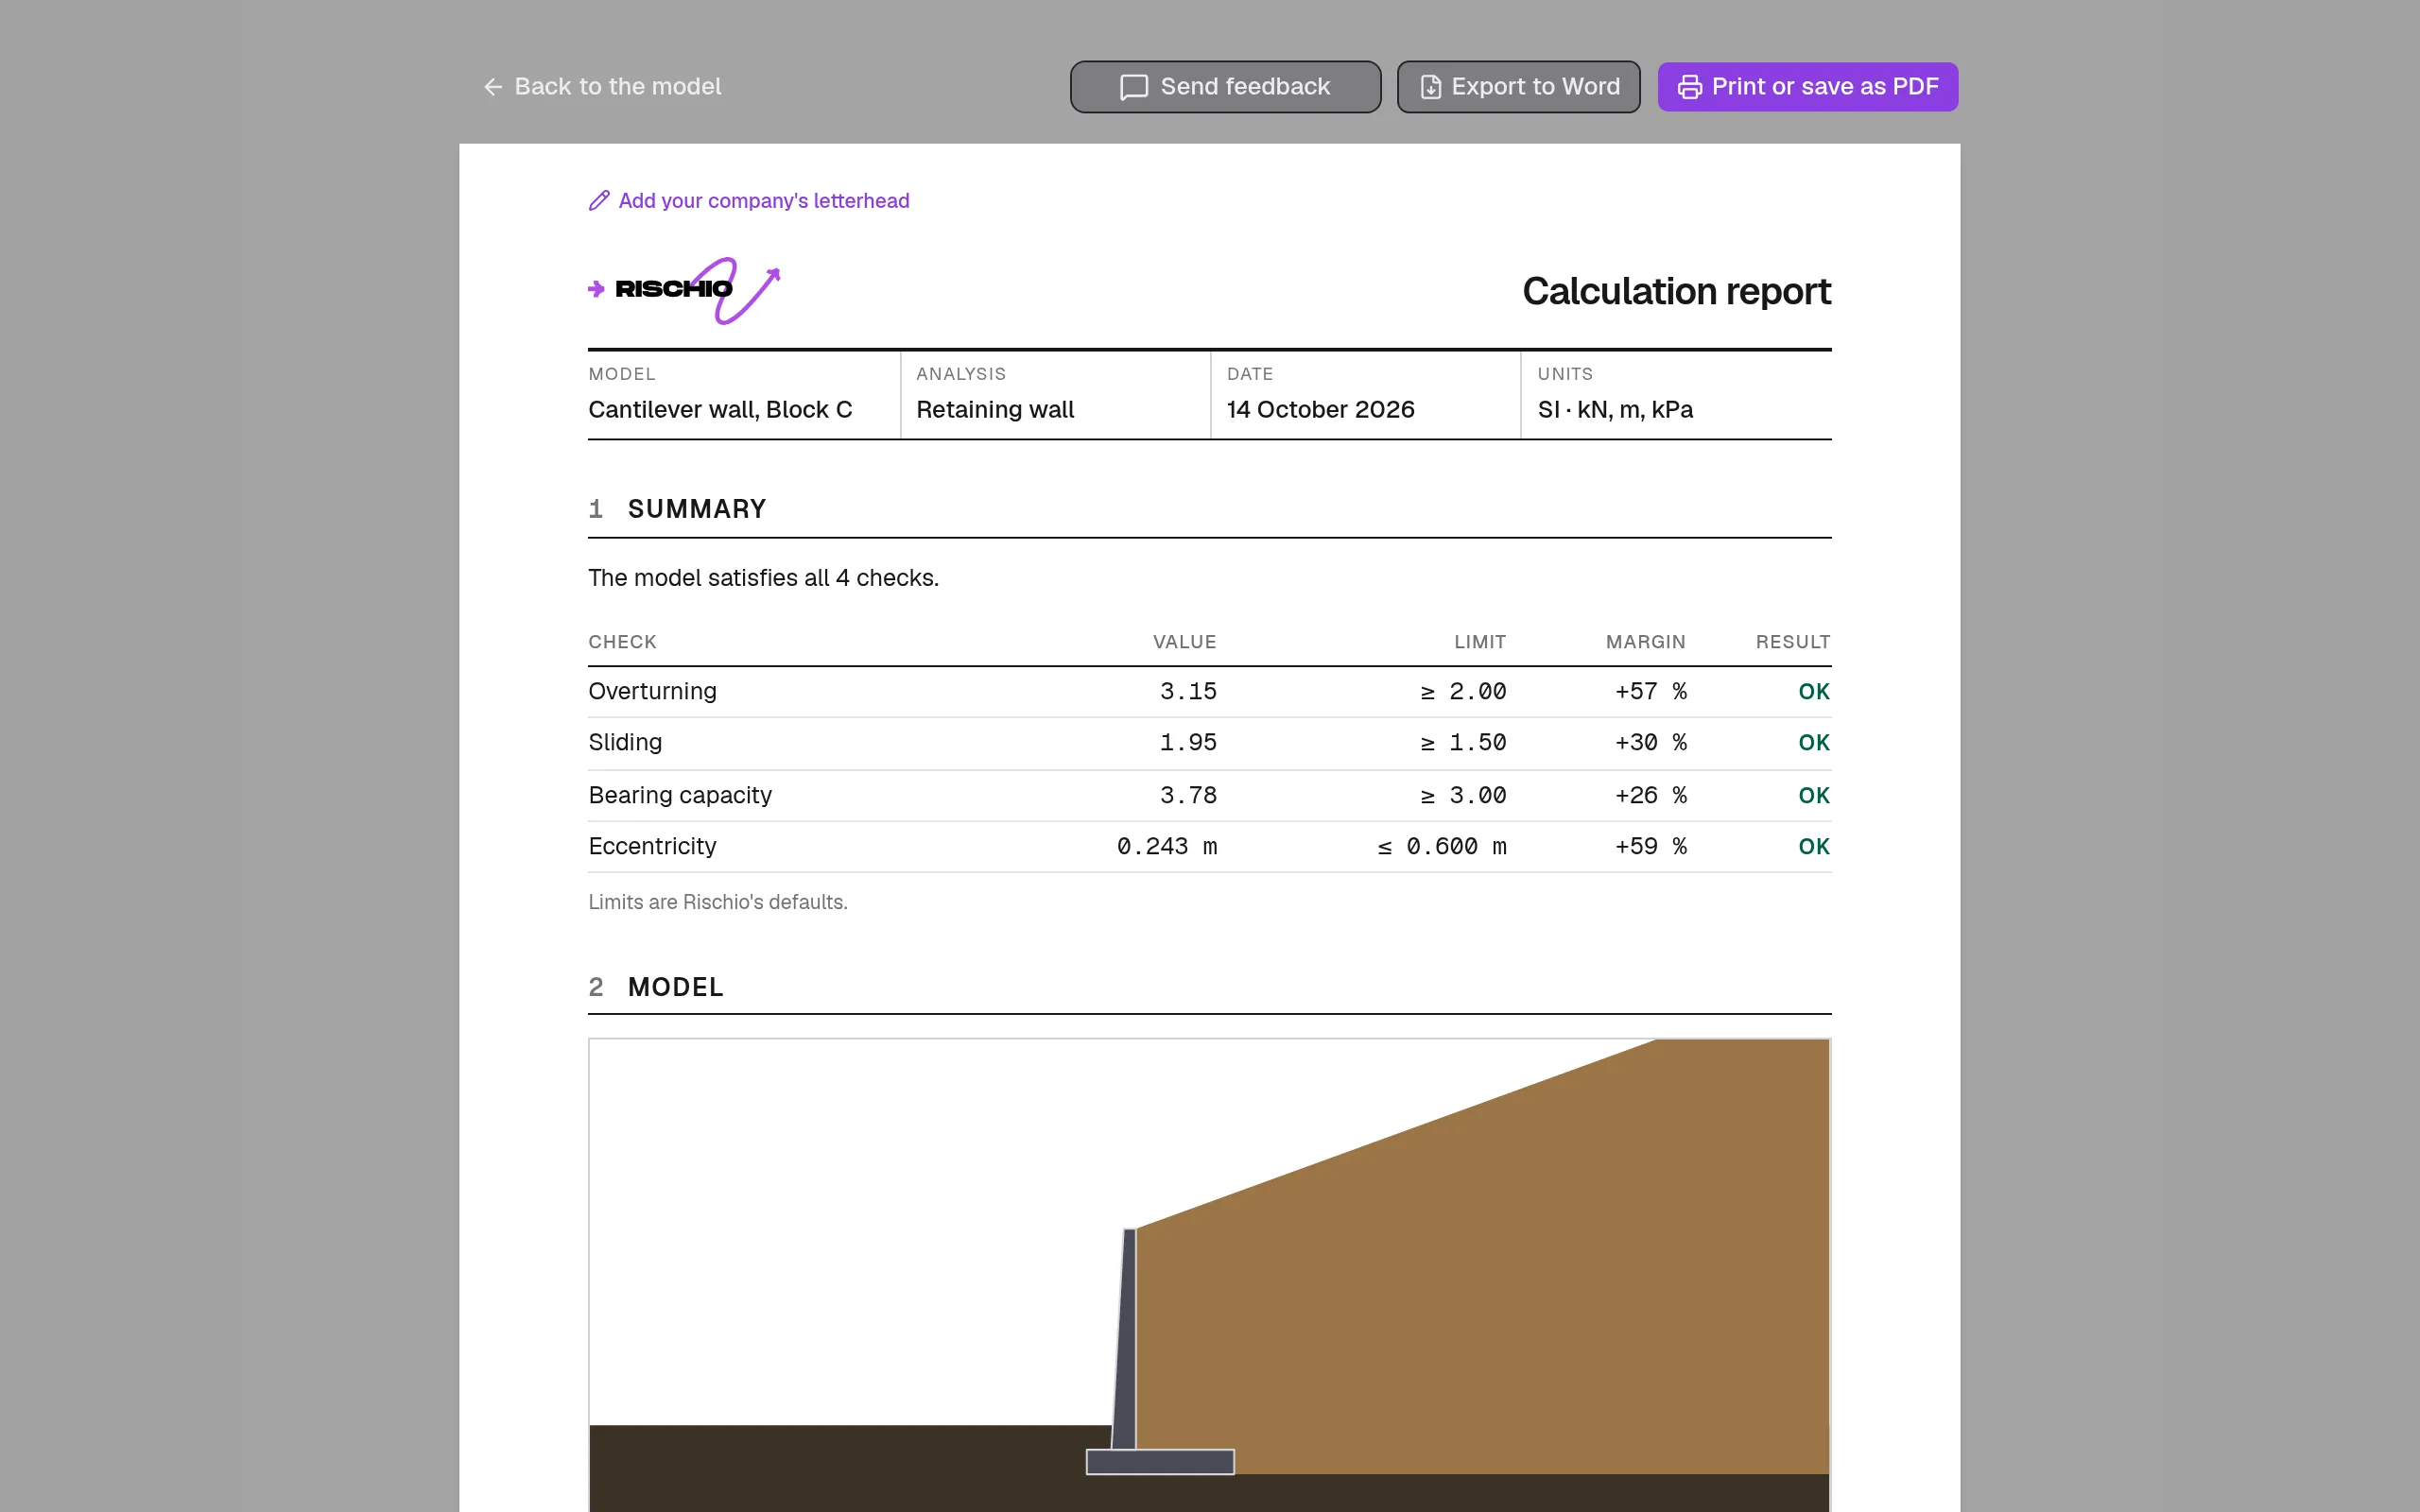
Report opens the calculation report: the summary of the checks, the model’s data, and every step of the calculation with its figures. With Professional, and during the trial, you print it, save it as PDF or export it to Word. On the free plan it’s a preview. All about it: The calculation report.
Where to go next
- Verified examples: worked examples from recognized references, solved in Rischio, with their answer beside Rischio’s.
- How each tool calculates: retaining walls, footings, piles and open channels.
- Connect your agent, so Claude, ChatGPT or Cursor build and calculate your models.